 |
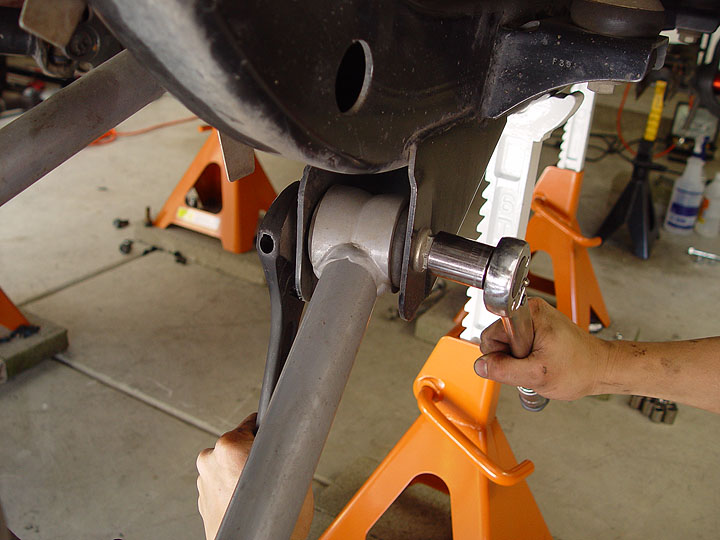
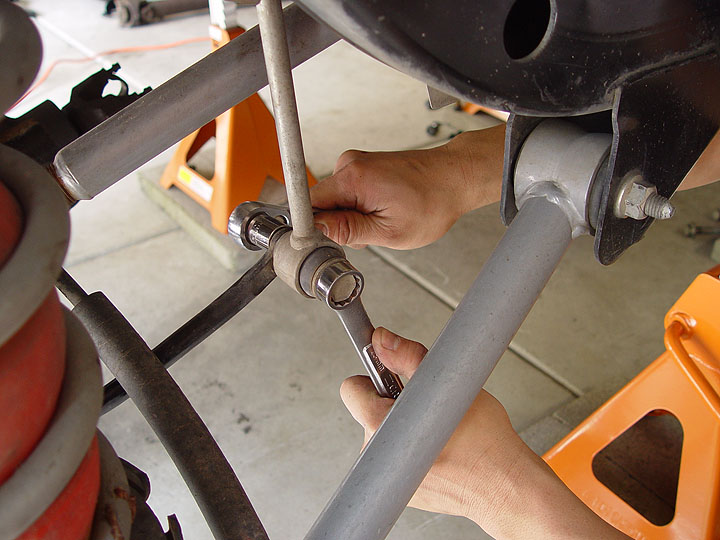
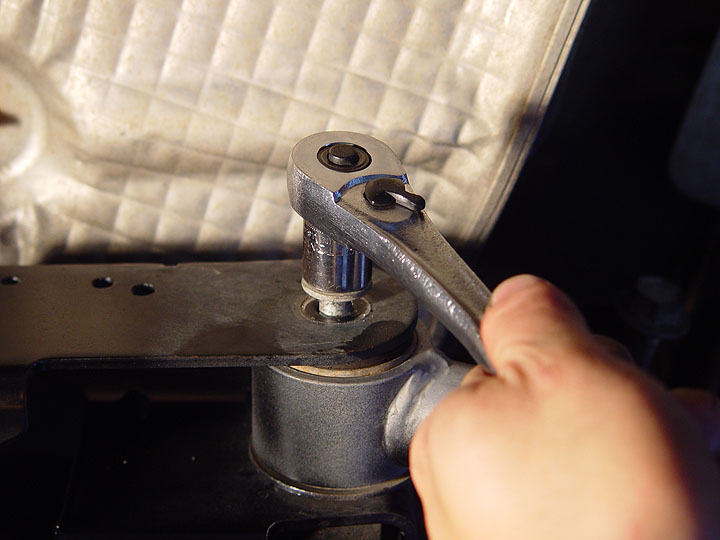
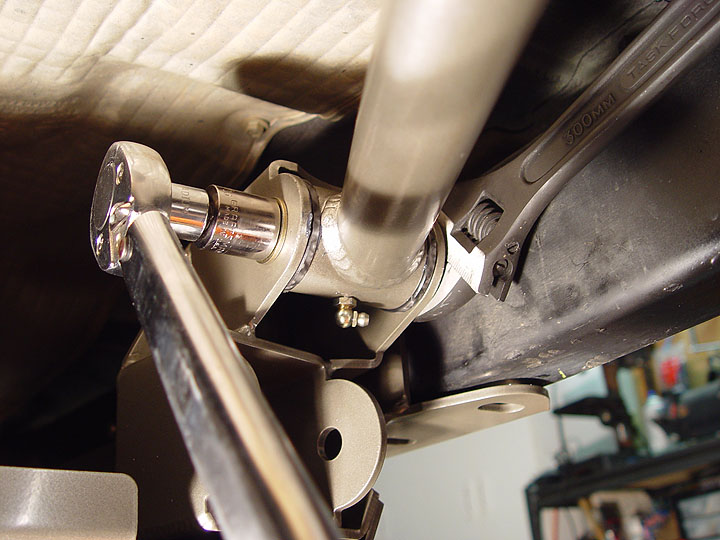
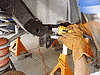
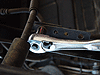
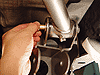
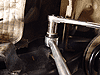
58. Remove your Jeep's rear lower control arms from the frame rail mounts using a 21mm socket and wrench. A breaker may be needed as the bolts are on quite tight. |
 |
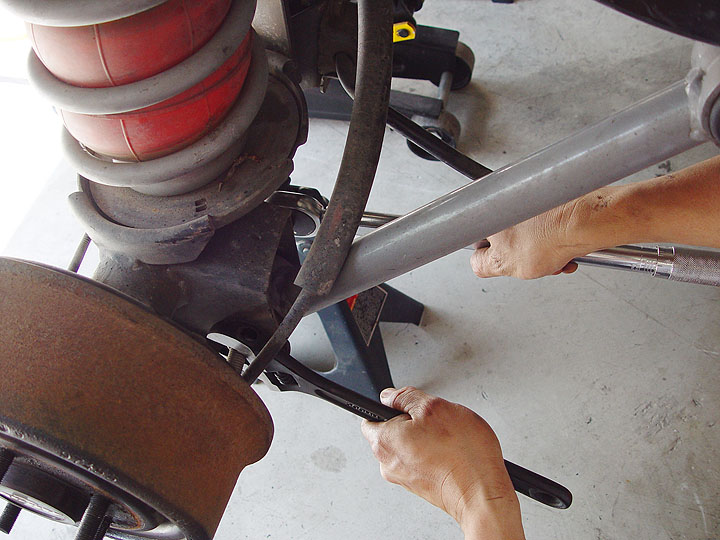
59. Now, remove your Jeep's rear lower control arms from the axle mounts using a 21mm socket and wrench. Again, a breaker may be needed as the bolts are on quite tight. Be sure to save the factory hardware as they will be reused. |
 |
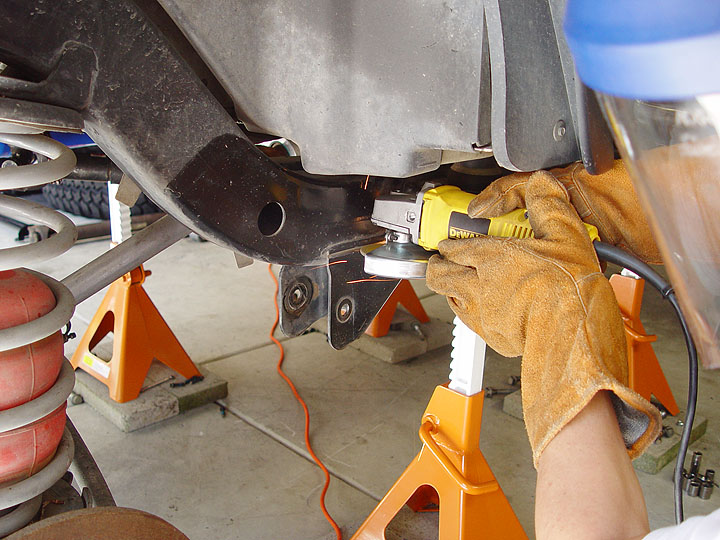
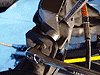
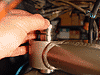
60. As before, using an electric grinder to create a deep score all the way around the factory lower control frame mount just beneath the weld. Then, cut through the base of the frame mount all the way up to the score. |
 |
61. Clamp the base of your Jeep's lower control arm frame mount with a pair of vice-grips and then work it back and forth until it breaks off at the score. Repeat this process with the inside half of the mount. |
 |
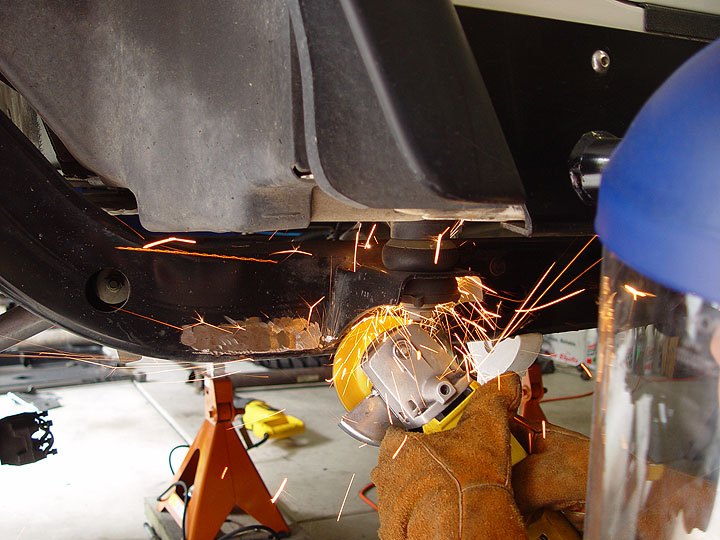
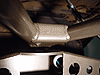
62. Remove the remaining welds and steel from the factory control arm brackets on both sides of the frame rails as well as underneath it using an electric grinder. Then, smooth everything out using a dual action sander. Finish up your Jeep's frame rails by priming and painting it semi-gloss black. |
 |
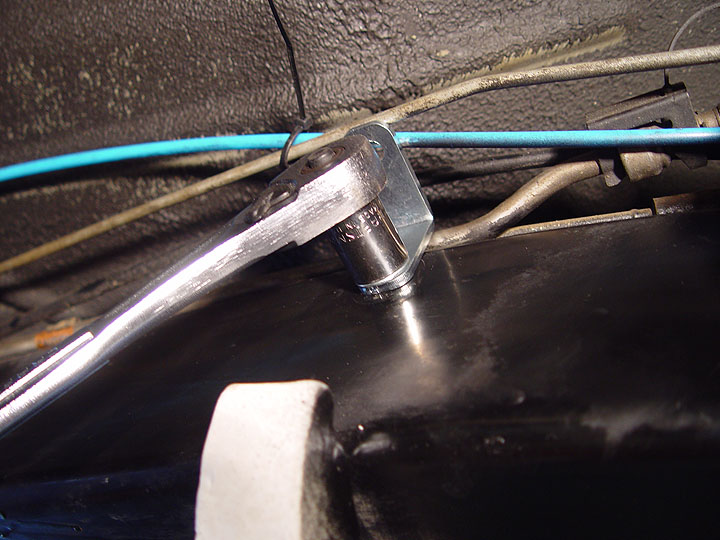
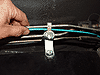
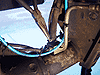
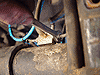
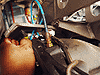
63. Climb under the driver side of your Jeep and unclip the brake lines attached to the 3 plastic retaining mounts located along the inside of your frame rail. Then, using a pair of needle nose pliers, carefully remove the plastic retaining mounts themselves from the frame rail. |
 |
 |
 |
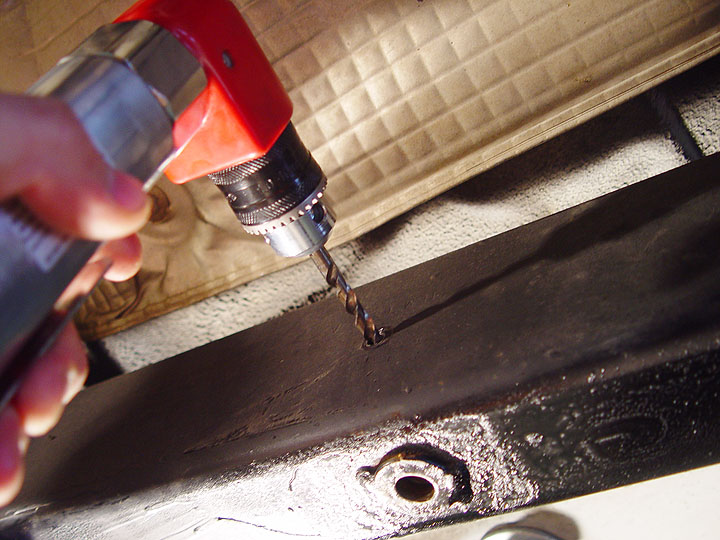
| 64. Using a 90° side angle drill and a 3/8" bit, drill out the existing (3) holes on the inside of your Jeep's frame rail that were previously used for the brake line plastic retaining mounts. |
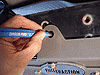
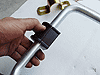
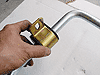
65. Using a 9/16" socket, tap the (3) holes you just drilled out with (1) of the 3/8"x1" self tapping bolts that came with your Full Traction Suspension Suspension Long Arm Kit. |
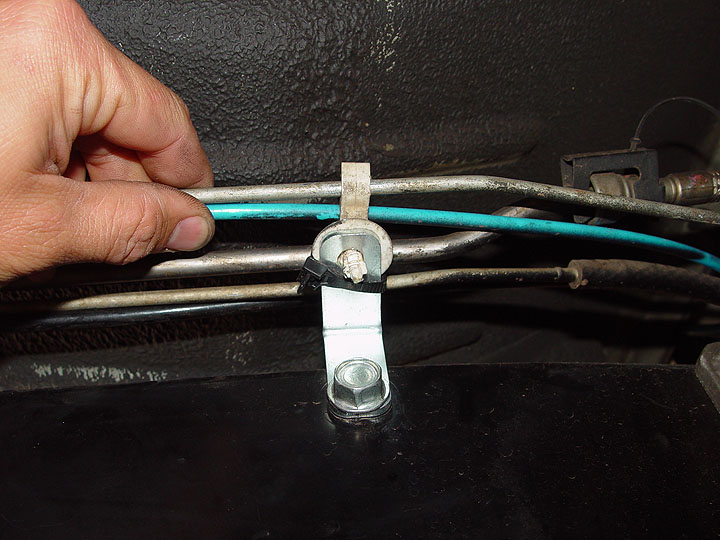
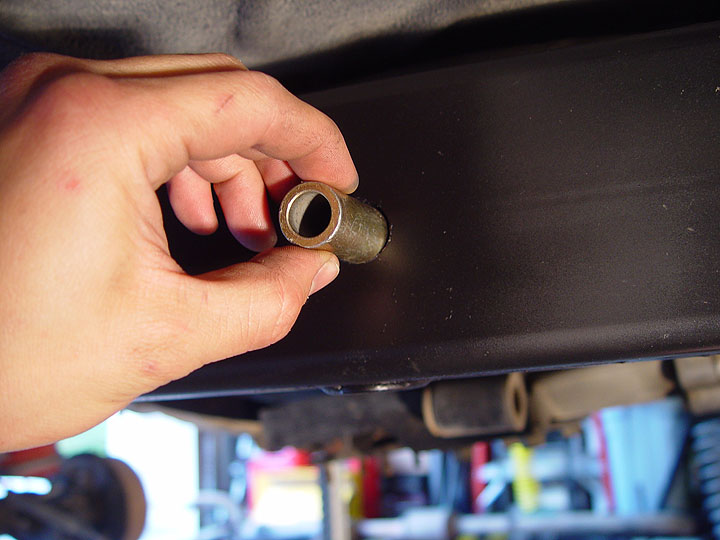
66. Install the (3) stand off tabs onto the inside of your Jeep's frame rail using the (3) 3/8"x1" self tapping bolts that came with your kit. A 9/16" socket will be needed to do this. Then, attach the factory plastic retaining mounts on to the top of the stand off tabs and snap the brake lines back in place. |
 |
67. Using the factory hardware, temporarily install the passenger side and driver side Full Traction Suspension side skid brackets onto your Jeep's frame rails. 97-02 Jeep TJ's will use the forward (3) holes on the bracket and 03-06 will use the rear (3). Leave the bolts loose at this time to allow you some room to manipulate the side skid brackets it a bit if needed. |
 |
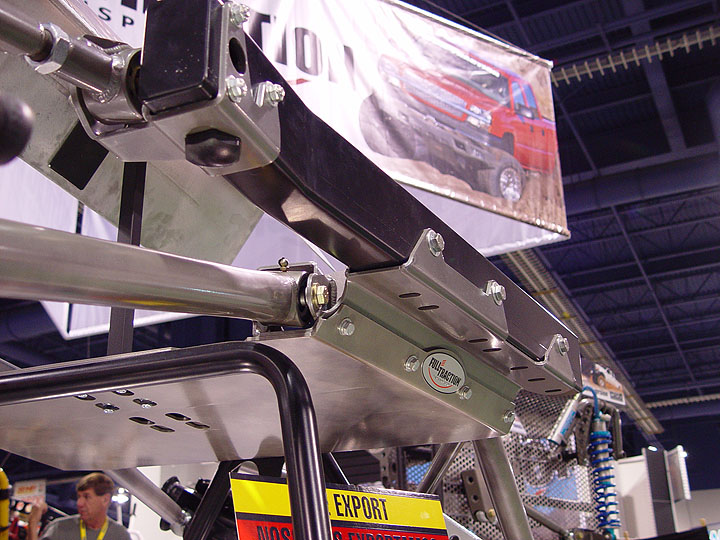
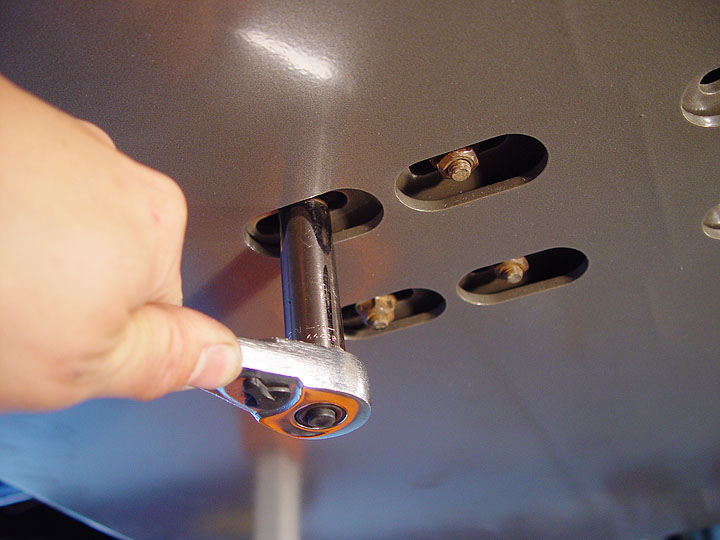
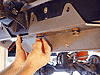
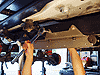
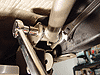
68. Use a floor jack to help you get the Full Traction Suspension transfer case skid plate up and positioned onto the side skid brackets. Then, secure it to the pre-installed nutserts on side skid brackets using (8) 3/8"x1" grade 8 bolts and washers. A 9/16" socket will be needed to do this. Once everything is in place, tighten the frame rail bolts down using a 3/4" socket. |
 |
69. Remove the transfer case skid plate only. Then, use the Full Traction Suspension side skid brackets as a template to locate and mark all the holes you will need to drill out with a center punch and hammer. There are a total of (3) holes you will need to mark off on each side of the frame rails and on both sides of your Jeep. |
 |
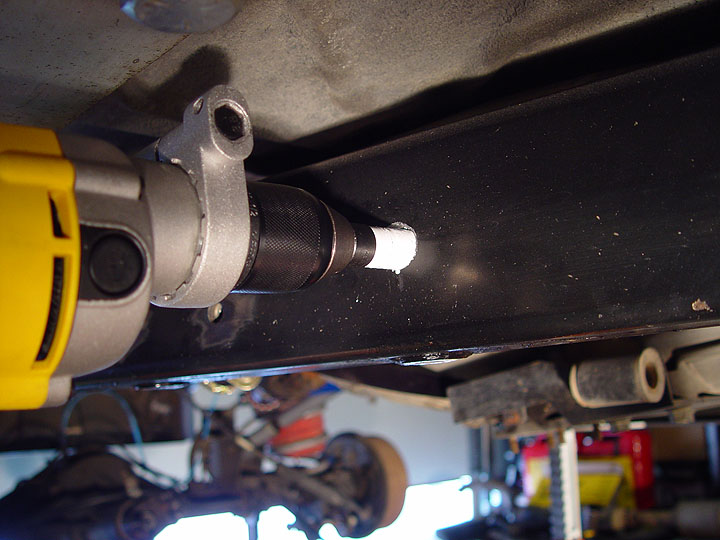
70. Remove the Full Traction Suspension side skid brackets and then drill a 1/4" pilot hole through all (12) points you just marked off. You will need to use a 90° side angle drill in order to drill the holes on the inside walls of your Jeep's frame rails. |
 |
71. Using a 3/4" hole saw, enlarge each of the (6) pilot holes (3 on each side) that you made on the outside walls of your Jeep's frame rails. DO NOT drill all the way through the other side of your frame rail. |
 |
72.
Working through the 3/4" holes, use a 9/16" bit to drill out the (6) pilot holes (3 on each side) you made earlier on the inside walls of your Jeep's frame rails. |
 |
73. Insert a crush sleeve into each of the 3/4" holes you made in the outside walls of your Jeep's frame rails. Be sure to push them all the way in so that they make contact with the back of the inside wall and sits flush with the outside wall. |
 |
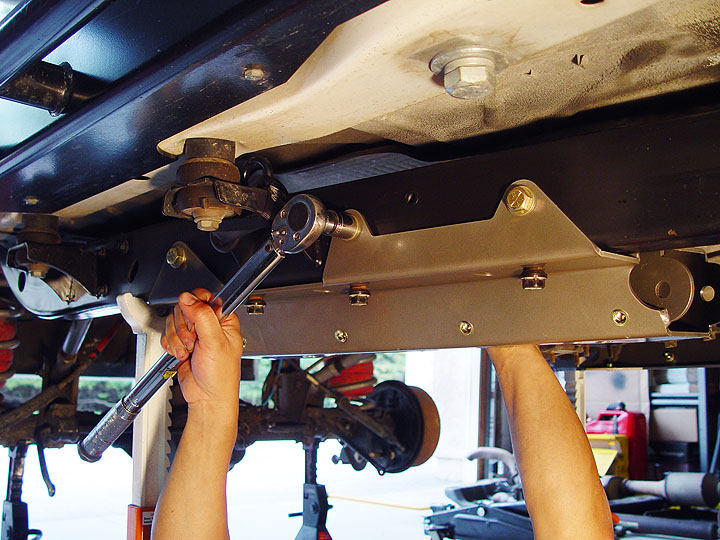
74. Reinstall both of the Full Traction Suspension side skid brackets using (6) 1/2"x1-1/2" grade 8 bolts and washers to secure them to the factory mounting holes on bottom of your Jeep's frame rails. Using a 3/4" socket, tighten these bolts to 55 ft. lbs. of torque. Then, secure the side brackets to the frame rails using (6) 1/2"x3-1/5" grade 8 bolts, washers and lock nuts (3 for each side of your Jeep). Using a 3/4" socket and wrench, tighten these bolts and nuts to 75 ft. lbs. of torque. |
|
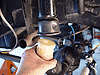
75. Use a floor jack to help you reinstall the Full Traction Suspension transfer case skid plate onto the side skid brackets. Using a 9/16" socket, secure it to the pre-installed nutserts on side skid brackets with (8) 3/8"x1" grade 8 bolts and washers (4 on each side). |
 |
76. Using a 13mm socket, secure your transmission mount studs to the Full Traction Suspension transfer case skid plate using the factory nuts. Tighten these nuts to 35 ft. lbs. of torque.
2003-2005 TJ Rubicon Only
See instructions in the left hand column for instructions on how to install the air compressor plate. |
 |
 |
 |
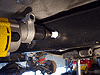
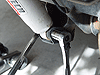
| 77. Remove your Jeep's rear shocks from the axle mount using a 15mm and 18mm socket and wrench. Save the hardware as they will be reused. |
78. Using a 13mm socket and a 12" ratchet extension, remove the bolts securing your Jeep's rear shocks from the upper frame mounts. Save the hardware as they will be reused. |
79. Disconnect your Jeep's rear sway bar links from the sway bar using a 15mm socket and 18mm wrench. Save the bolt and nut as they will be reused. |
 |
 |
 |
| 80. Remove your Jeep's rear sway bar link from your Jeep's frame mount using a 15mm socket. Save the bolt and flag nut as they will be reused. |
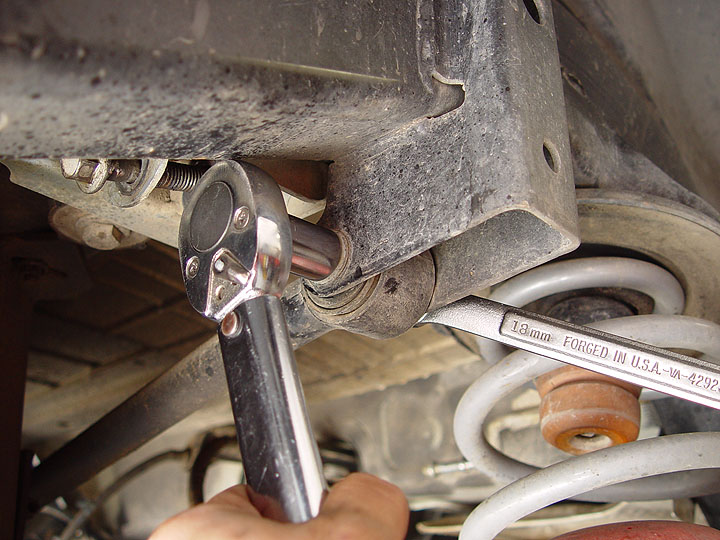
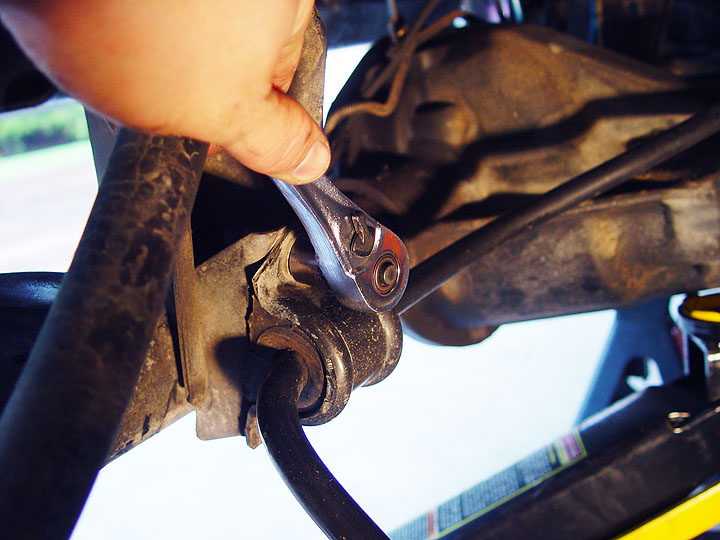
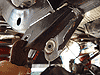
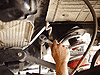
81. Disconnect your Jeep's rear track bar from the frame mount using a 15mm socket and 18mm wrench. |
82. Using a Torx T-55 bit, remove your Jeep's rear track bar from the axle mount. The factory hardware can be discarded as they will not needed again. |
 |
83. Unbolt the brake line retainers using a 13mm socket. These retainers will end up dangling and clanking around so I pried mine off with a pair of vice-grips. |
 |
 |
 |
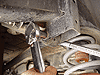
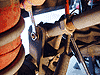
| 84. Using a 15mm socket and wrench, remove the bolts and nuts securing your Jeep's upper rear control arms to the axle mounts. |
85. Again, using a 15mm socket, remove the bolts and flag nuts securing your Jeep's upper rear control arms to the frame mounts. |
86. Remove the (4) bolts securing your Jeep's rear sway bar onto the axle using a 17mm socket. |
 |
 |
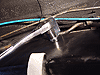
 |
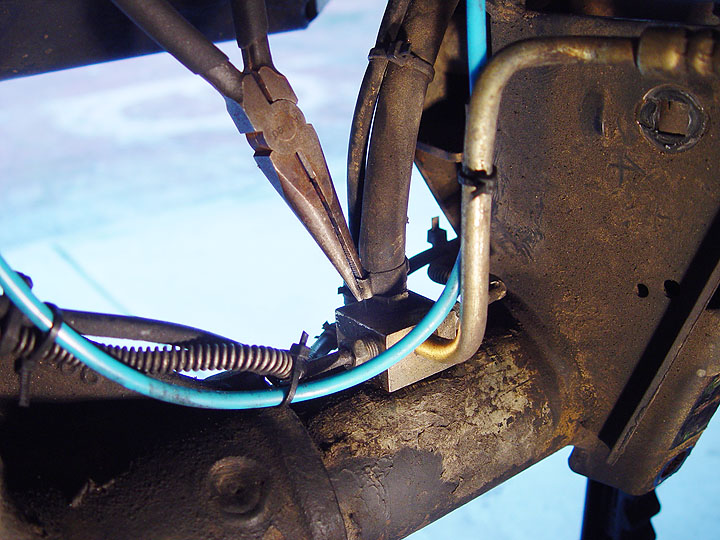
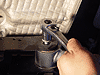
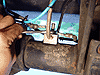
| 87. Using a pair of needle nose pliers, carefully pull off your Jeep's rear axle breather hose. |
88. Pinch off the rubber section of your Jeep's rear brake line with a pair of vice-grips to prevent leaking. |
89. Use a 3/8" flare nut wrench to disconnect the (2) hard lines attached to your Jeep's main rear brake line. |
 |
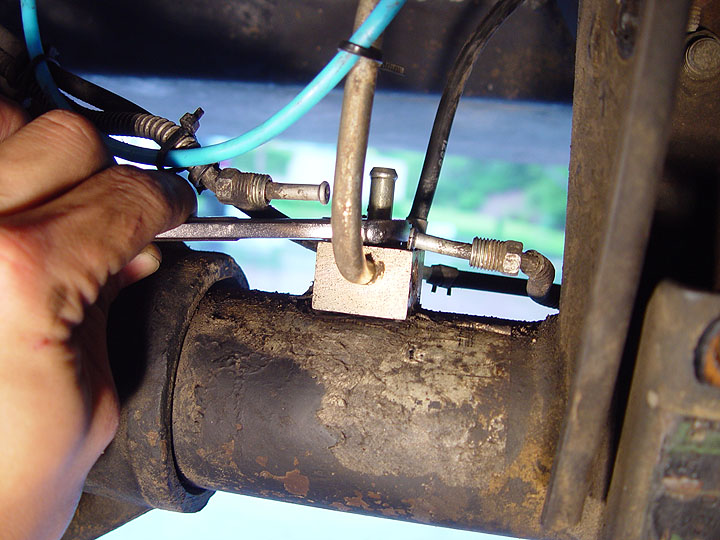
90. The rear axle breather hose nipple is also the bolt that secures your Jeep's rear brake line to the axle itself. Use a 9/16" wrench to remove this bolt and disconnect your brake line from the axle. |
 |
91. Using a floor jack, slowly lower one side of your rear axle as far as it
will go. If you're Jeep is up high enough, your
coil springs should just about fall out at this point and time. If
not, you may need the help of spring compressors to remove your rear
coil springs. Raise and support your axle back on a jack stand and then repeat this process on the other side of your Jeep. |
 |
 |
 |
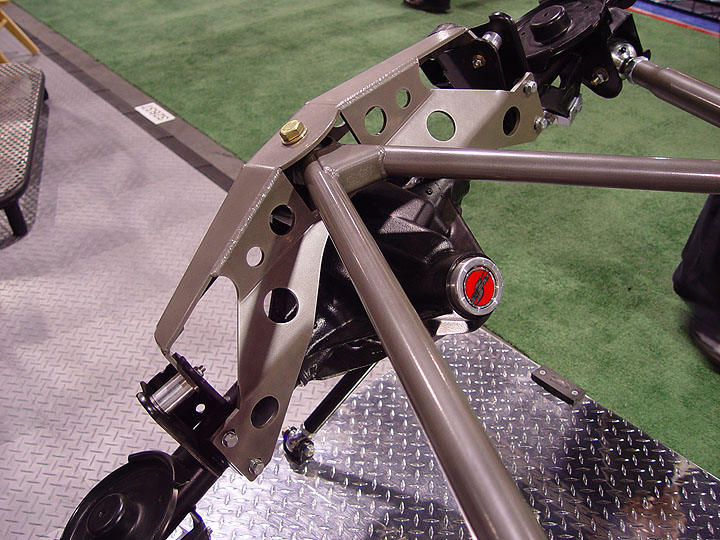
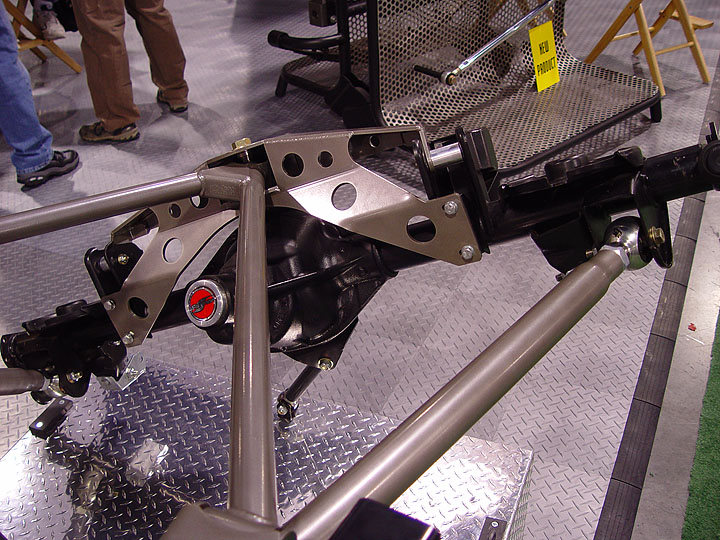
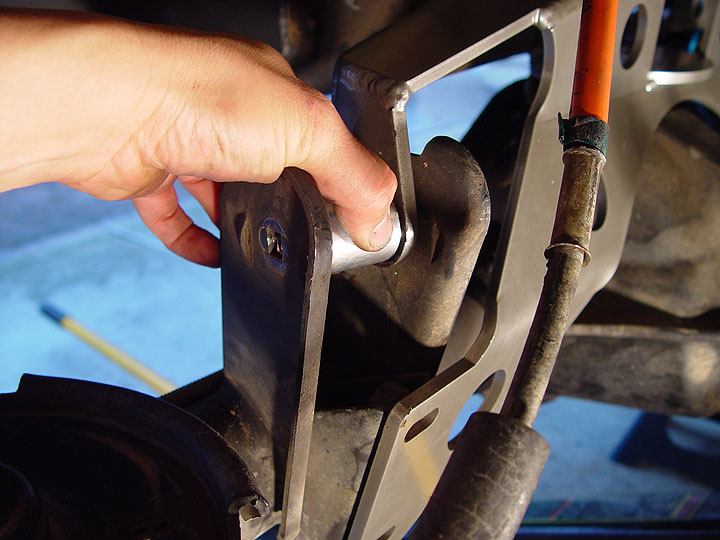
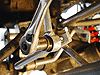
| 92. Carefully position the Full Traction Suspension upper V-Link support bracket over your Jeep's rear axle. |
93. Slip a Full Traction Suspension billet aluminum spacer into each one of your Jeep's rear axle upper control arm mounts. |
94. Secure the Full Traction Suspension billet aluminum spacer and upper V-Link support bracket to your Jeep's rear axle upper control arm mounts using the factory bolts and nuts. Use a 15mm socket and wrench to tighten the bolts and nuts to 55 ft. lbs. of torque. |
 |
 |
 |
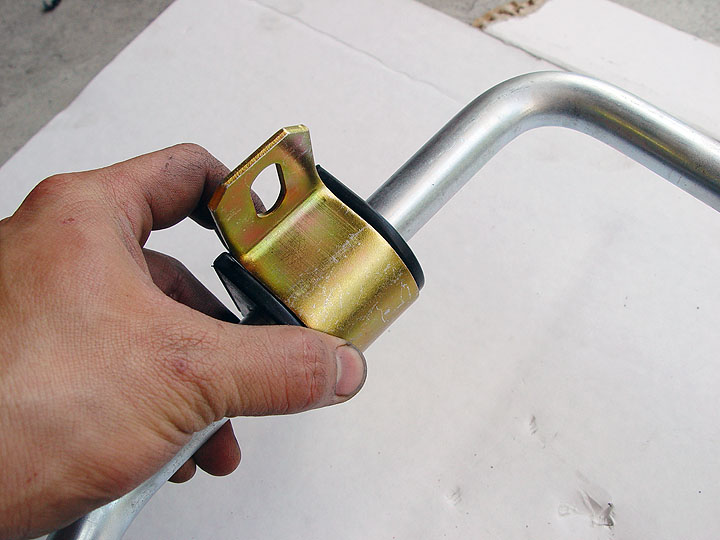
| 95. If you purchased a new Full Traction Suspension rear sway bar, begin assembling it by removing the gold colored metal brackets off the bushings and then sliding the black bushings alone onto each end of the sway bar. |
96. Slip the gold colored metal bushing bracket back onto the black bushings. |
97. Place the Full Traction Suspension rear sway bar brackets on top of the upper V-Link support bracket and then secure both to your Jeep's rear axle using (4) new 10M 1.5x35mm bolts and washers provided with your kit. Use a 17mm socket, tighten the bolts down to 40 ft. lbs. of torque. If you are reusing your factory sway bar, reinstall it at this time using the new hardware provided. |
 |
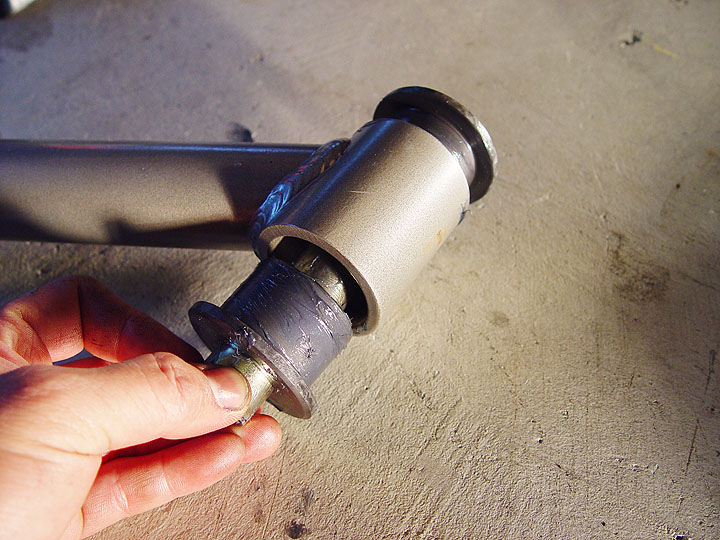
98. Using lithium grease or assembly lube, liberally grease and install the Full Traction Suspension V-link bushings and sleeves into the V-link eyelets. Failure to lube bushings prior to assembly will result in suspension squeaks and premature wear. |
 |
 |
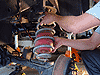
 |
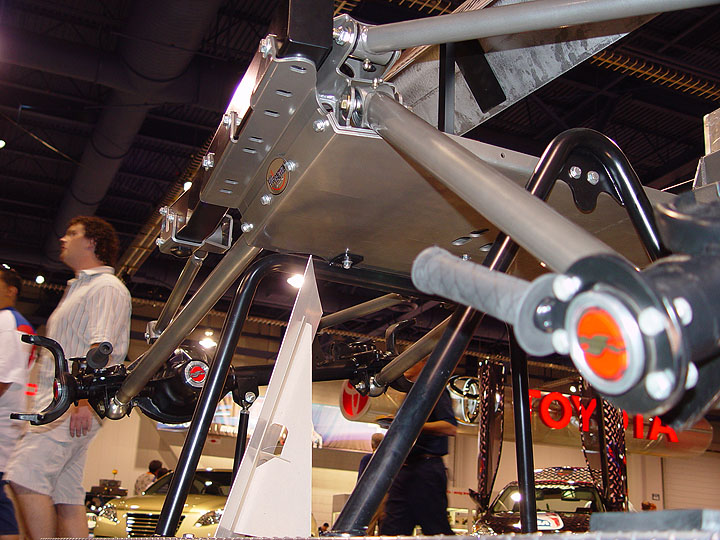
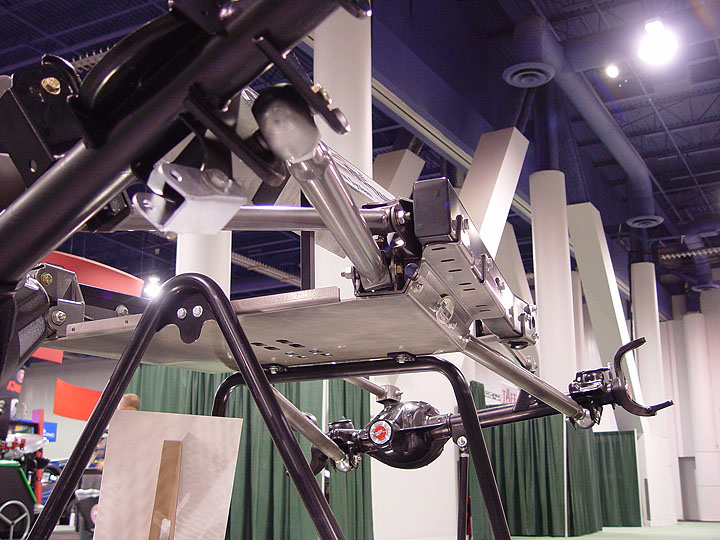
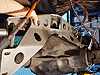
| 99. Carefully position the Full Traction Suspension V-Link over the V-Link support bracket making sure that the Full Traction Suspension logo is displayed in the upright position. |
100. Install the Full Traction Suspension V-Link into the upper side skid bracket mounts. Align the bushing eyelets and secure the V-Link in place using 9/16"x4" grade 8 bolts, washers and lock nuts. Leave the bolts and nuts only hand tight at this time. |
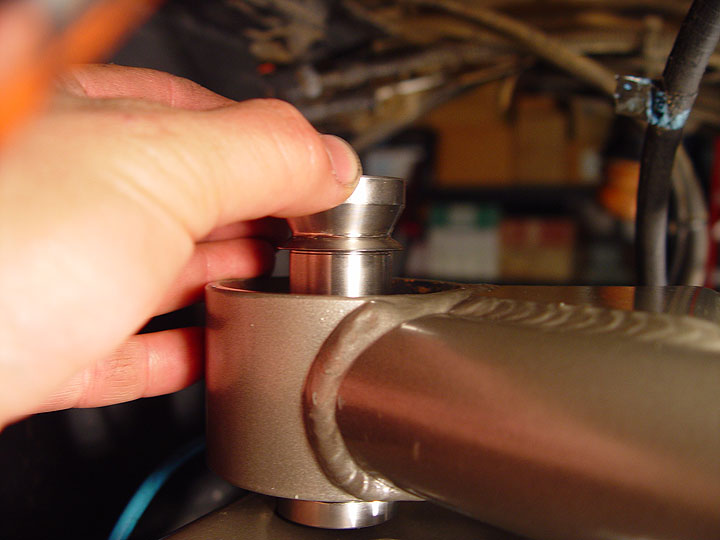
101. Install high misalignment spacers into the top and bottom of the spherical bearing that comes pre-assembled in the Full Traction Suspension V-Link. |
 |
 |
 |
| 102. Slowly tilt the top of your Jeep's rear axle backwards so that the end of the Full Traction Suspension V-Link can be lowered. Then, carefully guide the spherical bearing into the mouth of the V-Link support bracket by tilting your axle forward again. |
103. Insert the large 3/4"x4-1/2" grade 8 bolt through the top of the Full Traction V-Link support bracket. Then, with the welded on nut facing downward, slide the Full Traction Suspension V-Link upper reinforcement plate under the V-Link support bracket and fasten the 3/4"x4-1/2" bolt to it. |
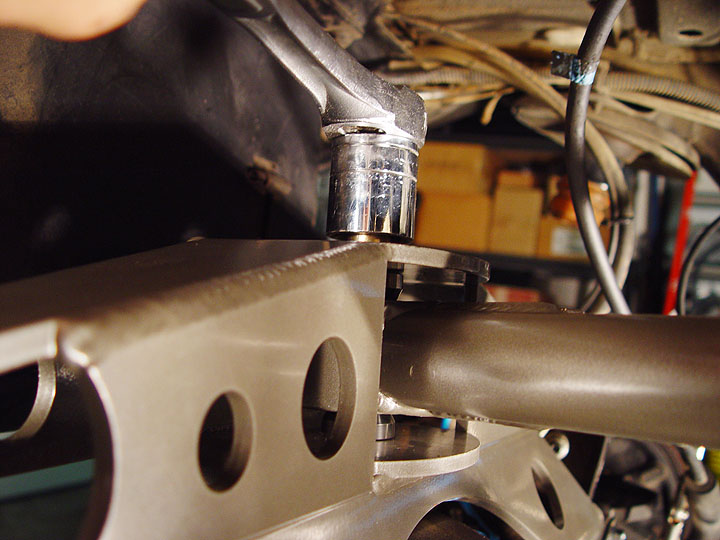
104. Using a 1-1/8" socket, tighten the Full Traction Suspension V-Link support bracket mount bolt to 150 ft. lbs. of torque. |
 |
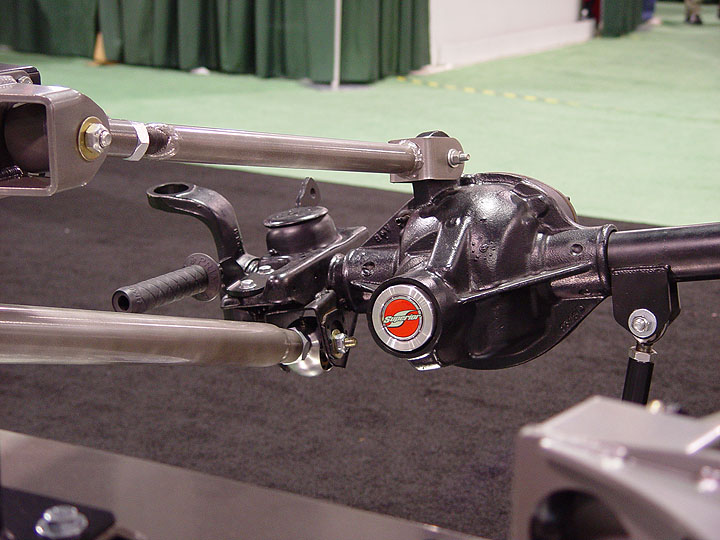
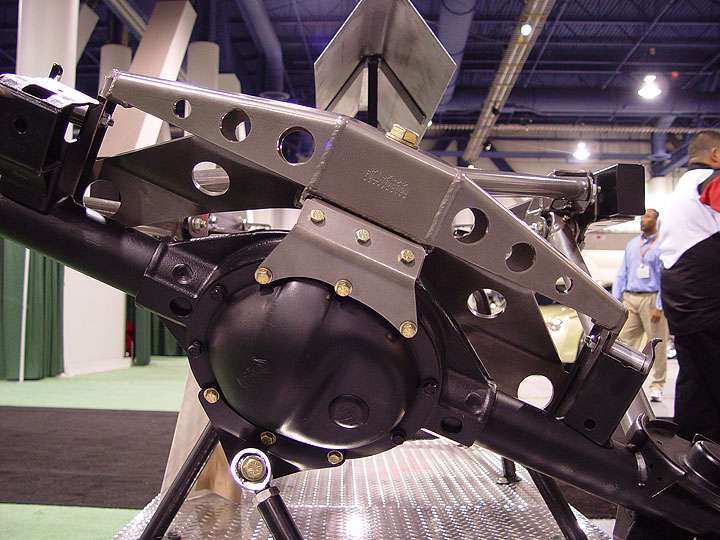
105. Using a 1/2" socket, remove the (3) upper most bolts off your Jeep's rear differential cover. Then, place the appropriate Full Traction Suspension differential support bracket that will fit your axle type over the holes and secure it in place using the factory bolts. |
 |
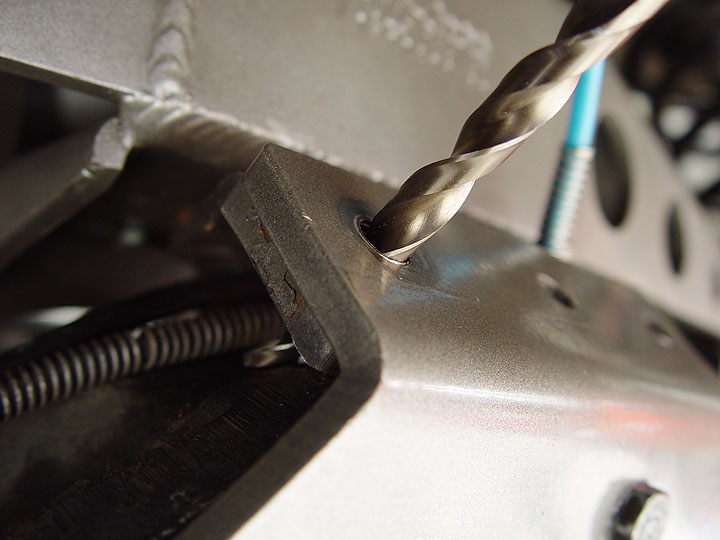
106. Using the Full Traction Suspension differential support bracket as a template, drill (3) holes through the V-Link upper reinforcement plate using a 3/8" bit. |
 |
107. Secure the Full Traction Suspension differential support bracket to the V-Link upper reinforcement plate using (3) 3/8" grade 8 bolts, washers and lock nuts. You will need a 1/2" socket and wrench to do this. |
 |
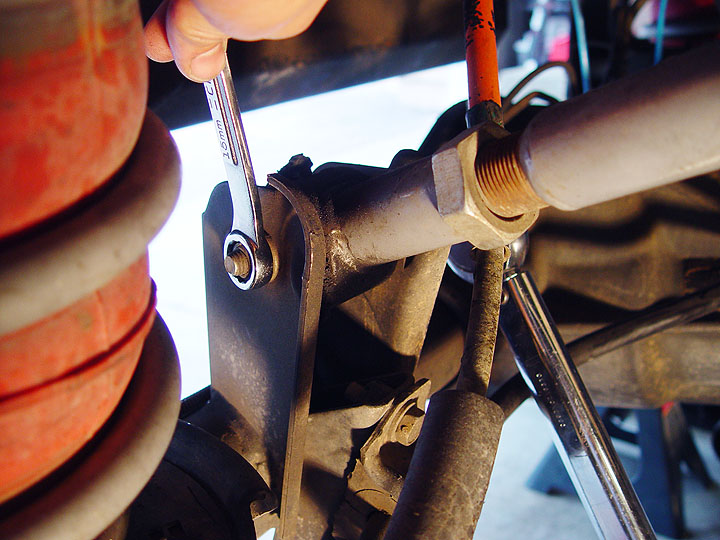
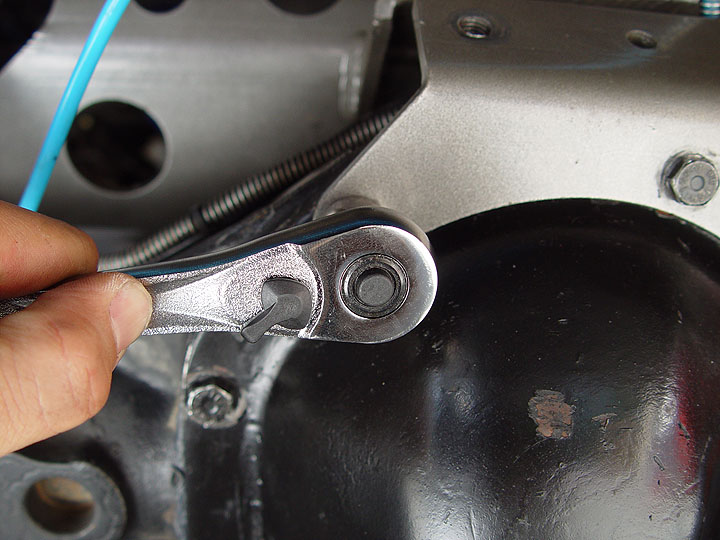
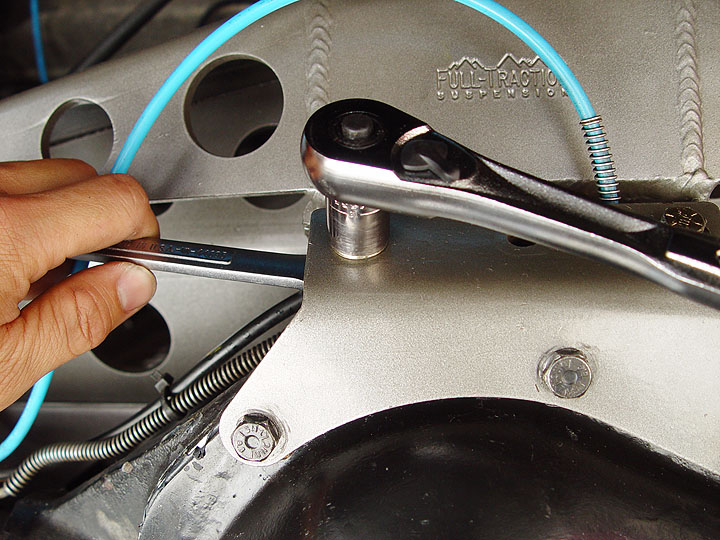
108. Using a 13/16" socket and 7/8" wrench, tighten the bolts securing the Full Traction Suspension V-Link to the side skid brackets. |
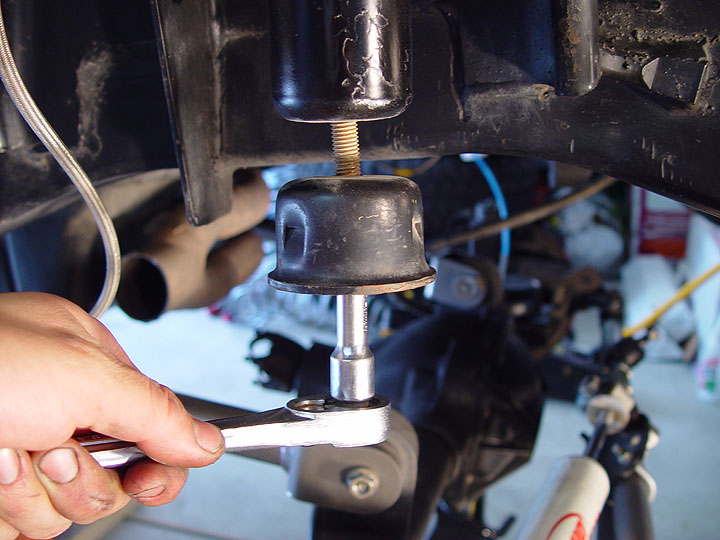
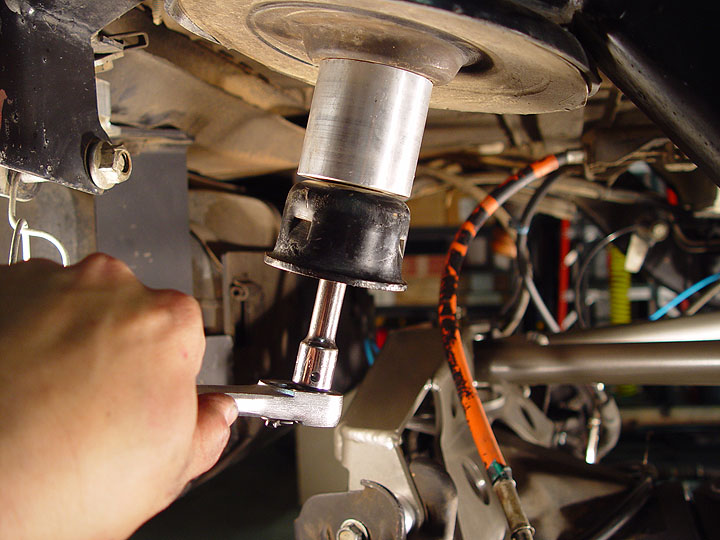
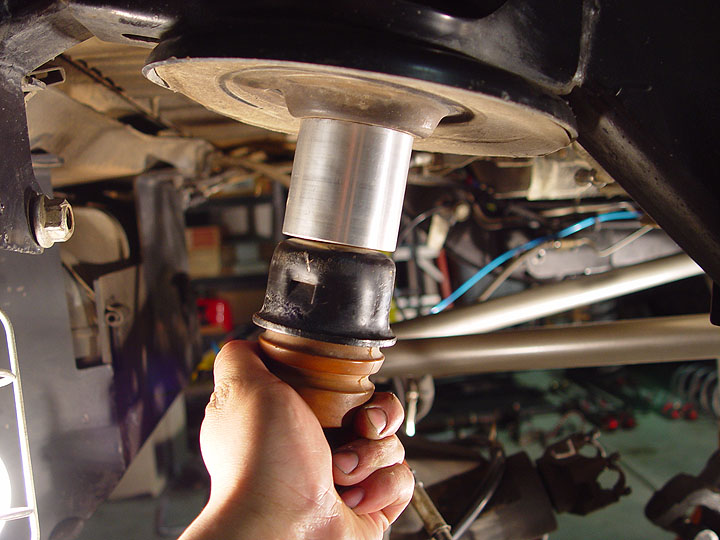
 |
 |
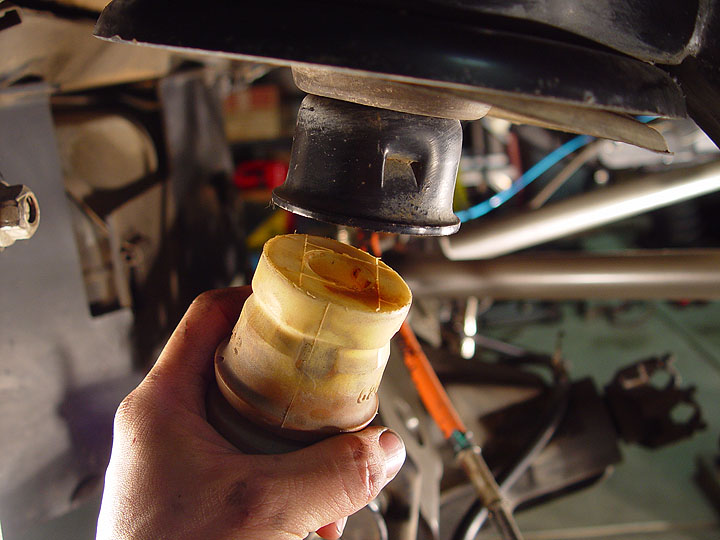
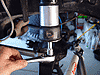 |
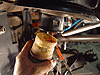
| 109. Remove the rubber bump stop out of your Jeep's front upper spring perch by firmly grabbing it and then working it back and forth until it comes out. |
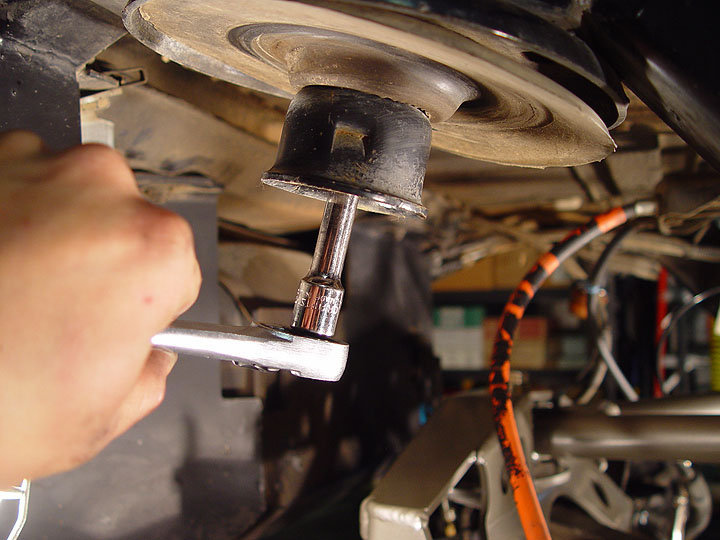
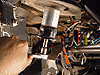
110. Using 15mm socket and 3" ratchet extension, remove the bolt inside the bump stop retaining cup securing it to your Jeep's upper front spring perch. |
111. Place a 2"x2" Full Traction Suspension billet aluminum bump stop extension in between the retaining cup and the spring perch and then secure it in place with the new 10x65mm bolt provided in the kit. You will need a 17mm socket and 3" ratchet extension to do this. |
 |
112. Drill a 5/16" hole through the center of your Jeep's front and rear lower spring perches. Then, using the 3/8"x2" self-tapping bolts that come with the kit, thread the holes you just drilled by ratcheting it on. Make sure to do this slowly and back out often to create clean threads. Do not mount the bump stop extension at this time as it will make installing your new coils very difficult. |
 |
 |
 |
| 113. Remove the rubber bump stop out of your Jeep's rear upper spring perch by firmly grabbing it and then working it back and forth until it comes out. |
114. Using 15mm socket and 3" ratchet extension, remove the bolt inside the bump stop retaining cup securing it to your Jeep's upper rear spring perch. |
115. Place a 2"x2" Full Traction Suspension billet aluminum bump stop extension in between the retaining cup and the spring perch and then secure it in place with the new 10x65mm bolt provided in the kit. You will need a 17mm socket and 3" ratchet extension to do this. |
 |
 |
 |
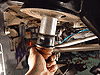
| 116. Reinstall all your Jeep's factory rubber bump stops into the retaining cups by forcefully pushing up and twisting back and forth. |
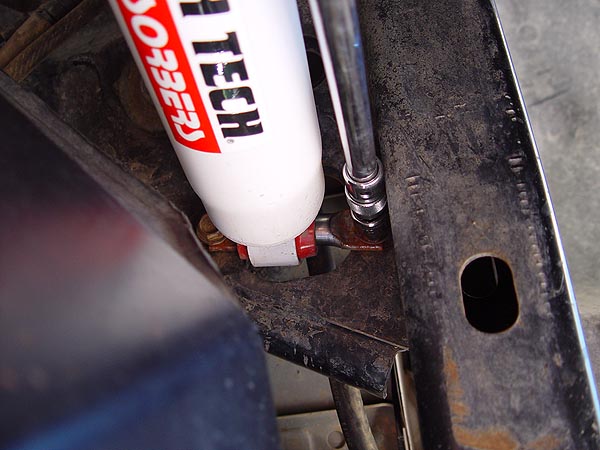
117. Install the Full Traction Suspension rear sway bar links onto your Jeep's frame mount using the factory hardware. Using a 15mm socket, tighten the bolt to 40 ft. lbs. of torque. |
118. The Full Traction Suspension rear sway bar has (3) link mount locations to allow you to adjust stiffness. Select which location you will be using and then install the rear sway bar links onto the sway bar using the factory hardware. Use a 15mm socket and 18mm wrench to tighten the bolt and nut to 40 ft. lbs. of torque. |
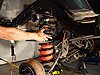 |
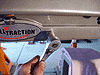
119. Using a floor jack, slowly lower one side of your rear axle as far as it will go. If you're Jeep is up high enough, you should be able to install your new Full Traction Suspension rear coil springs with little effort. If not, you will need to pre-compress the coil springs a bit with a pair of spring compressors. Once installed, raise and support your axle back on a jack stand and then repeat this process on the other side of your Jeep.
NOTE: As you can see in this photo, my Jeep is running an Air Lift Suspension in the rear and so I did not install the lower bump stop extensions. However, the installation is exactly the same as the front and can be seen on steps 139-141 on page 3. |
|