|
|
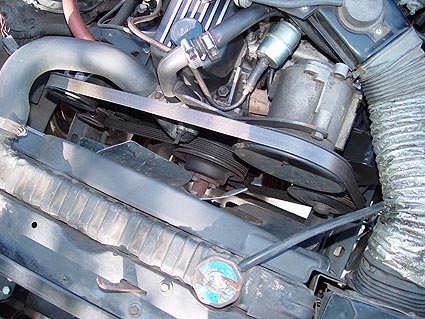
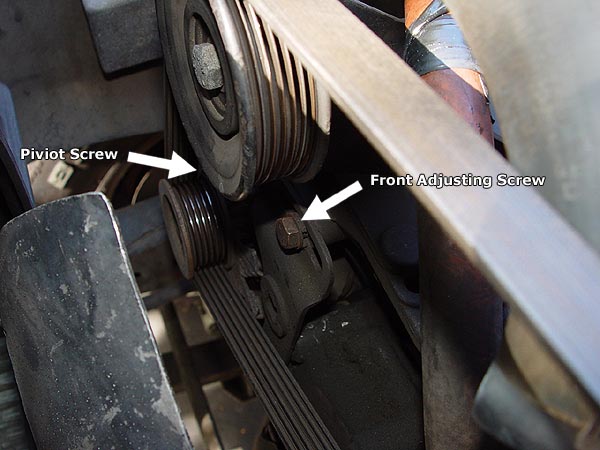
In order to remove your
serpentine belt, you will need to loosen the adjusting and pivot screws
on your alternator as indicated by the arrows above.
|
 |
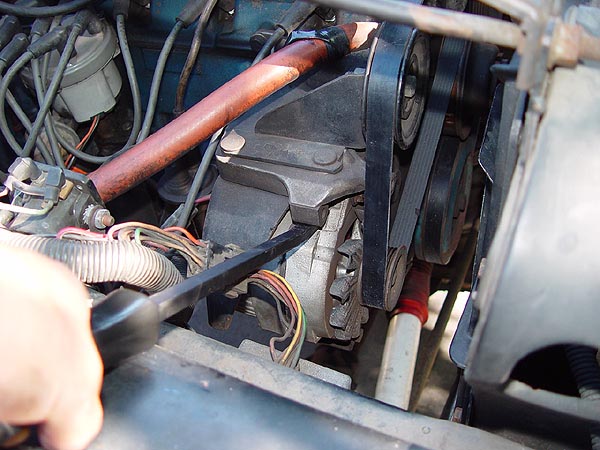
Here you can see me
loosening up the adjusting screw behind the alternator. A ratchet
extension really comes in handy here.
|
 |
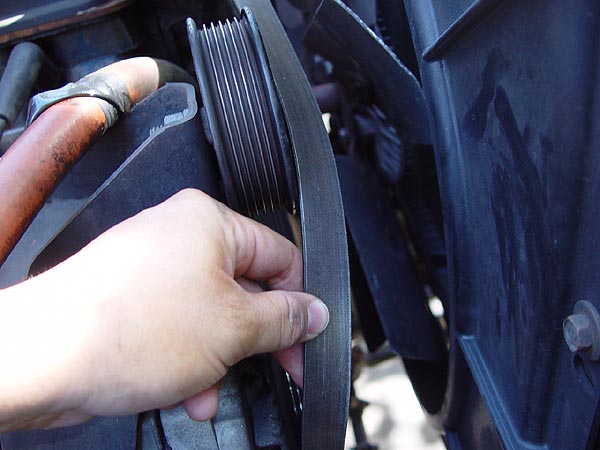
| With the alternator loosened,
you can slip off the serpentine belt with ease. |
 |
Here you can see how
my old serpentine belt was worn and falling apart.
|
 |
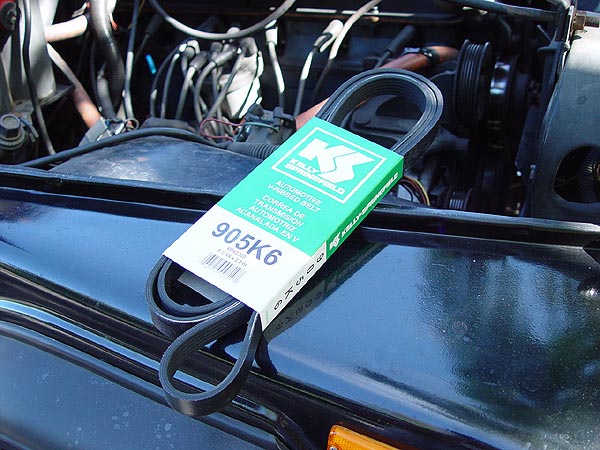
| I picked up a new Kelly
Springfield belt from Autozone for only $17. |
 |
This is a diagram of
how your serpentine belt should be routed if you have a California
258 without AC.
|
 |
| Use a pry
bar to push down your alternator which will tighten up your serpentine
belt and then fasten the adjusting and pivot screws to secure it. |
 |
|
Serpentine
Belt Replacement
California 258 I-6 without A/C
With
the weather getting colder and more humid around here, my CJ developed
a high pitched squeal like angry squirels under the hood. This pretty
much happened only in the mornings and went away once the engine warmed
up and dried things out. I knew this has something to do with my serpentine
belt and upon closer inspection, I noticed that it was in fact a tad
loose. However, I also noticed that the belt had a few cracks longitudinally
and was even missing ribs.... not good!! Fortunately, replacing a
serpentine belt is a real cheap ($17 at Autozone) and real easy to
do.
NOTE:
Just so you all know, I have a 1981 CJ7 with a California 258. I point
this out because unlike the rest of the 49 United States, Jeep was
required to build their California 258 with extra smog crap (i.e.
air pump) and the belt I used as well as it's routing may be quite
different from yours. Be sure to check your FSM or Haynes manual for
the exact type of belt and routing you will need to use.
What You Will Need
• Kelly Springfield
Serpentine Belt#905K6 (1981 CA 258 Only)
• 9/16", 1/2" Sockets
• Ratchet
• Torque Wrench
• Ratchet Extension
• Pry Bar
Installation
1.
Pop open your hood and draw a quick diagram or photograph the existing
routing of your serpentine belt so you will know how to put the new
one back on.
2. Take your ratchet
and loosen but do not remove the adjusting and pivot screws on your
alternator.
3. With the alternator
sitting loose, you should be able to slip off the old serpentine belt
off with ease.
4. Refer back to your
diagram or photograph and then take your new serpentine belt and install
it. I found that it's easiest to start by looping the belt around
the drive pulley first and then work your way up ending at the idler.
Be sure to install it exactly as before with the ribbed side down.
The only place where the ribbed side should show up is from the alternator
to the fan/water pump.
5. Tighten up the adjusting
and pivot screws just a bit and then slip a pry bar in between the
alternator and mounting bracket as shown in the pic to the right.
Slowly pry the alternator down until your serpentine belt is tight
and then fasten down all the screws to secure it. The adjusting screws
need to be torqued to 18 ft. lbs. and the pivot screw to 28 ft. lb.
That should be it. Please let me know if you have any questions.
|
|
|