 |
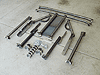
Here's a pic of all the parts you will get with your Rock Hard Ultimate Sports Cage plus rear angle bars and floor mounts which I bought as an added option. I had also purchased a rear bar and padding kit but received them at a later time and so they are not shown here. As you can see, all of the parts come as bare metal an will need to be painted prior to installation. |
 |
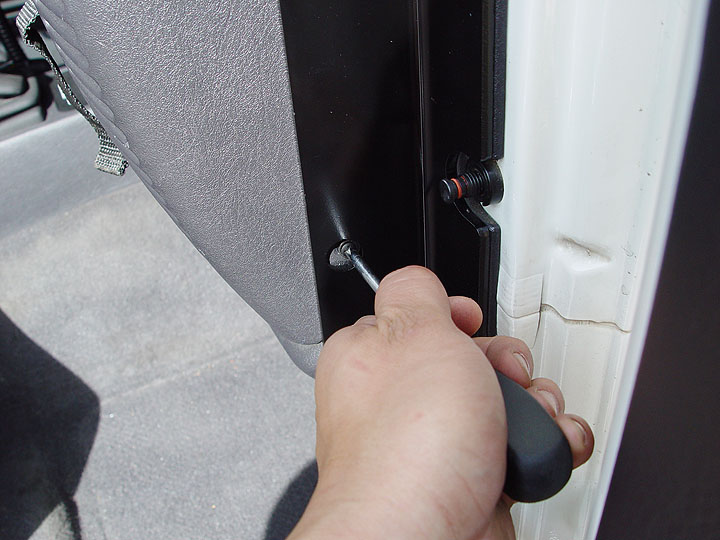
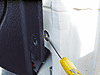
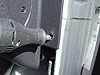
1. To begin, you will need to remove your Jeep's hard top or soft top including door surrounds and temporarily store them away. A Torx T-40 bit will be needed to remove your Jeep hard top. Also, make sure to disconnect the wiring harness and washer fluid tube from the driver side rear corner. |
 |
 |
 |
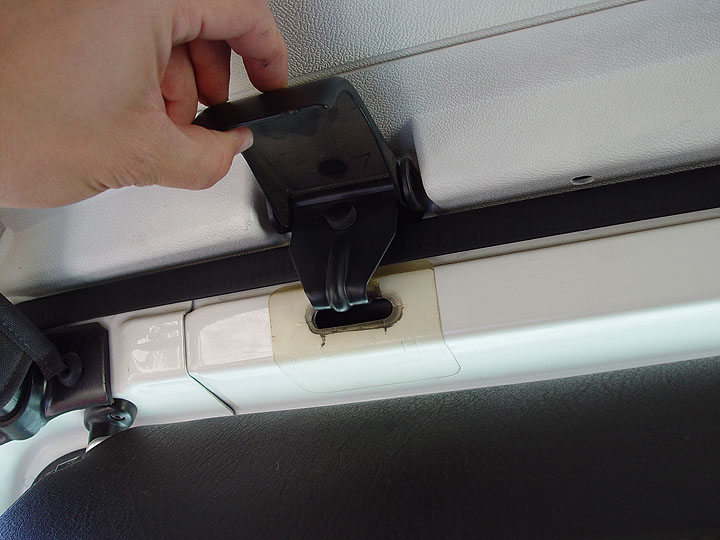
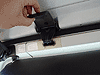
| 2. Pop open the plastic covers on your Jeep's rear seat belt shoulder strap connections on the roll bar. |
3. Using a Torx T-50 bit, remove the bolt securing your Jeep's rear seat belt shoulder strap connections from the roll bar. |
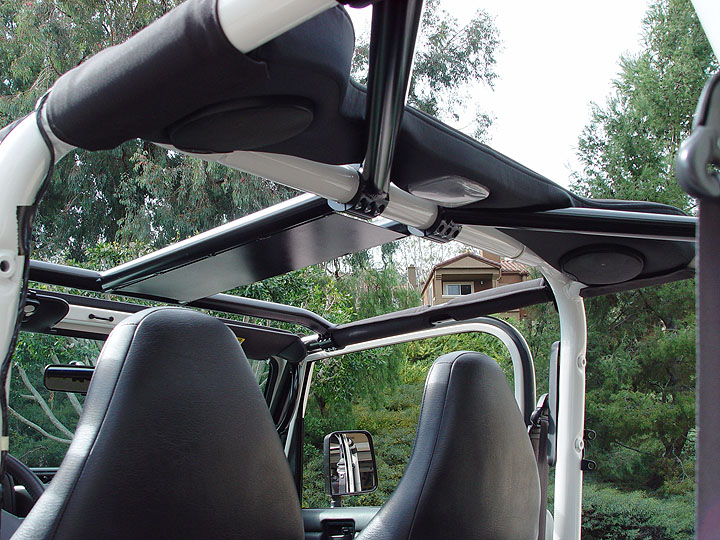
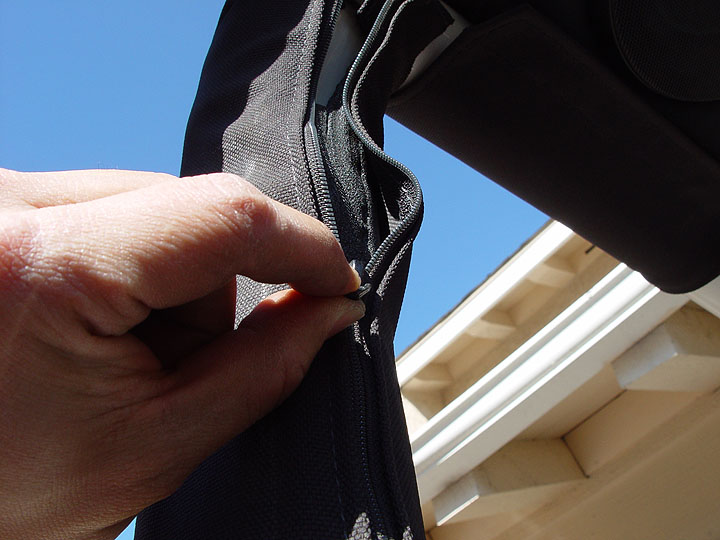
4. Unzip your rear roll bar padding and remove it from your Jeep. |
 |
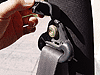
5. Pop open the plastic covers on your Jeep's passenger and driver side seat belt shoulder strap connections on the roll bar and proceed to remove them using a Torx T-50 bit. |
 |
|
 |
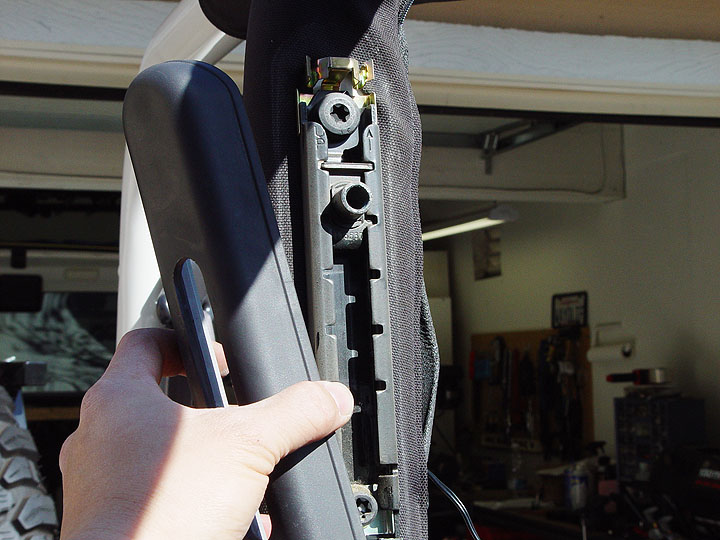
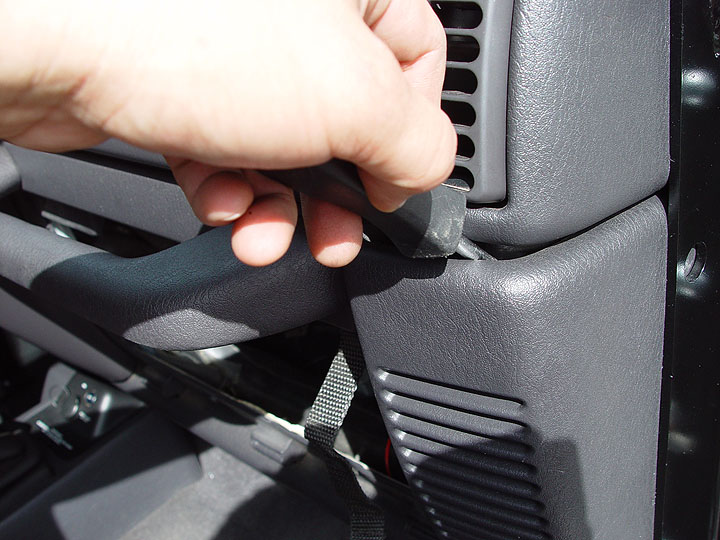
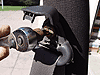
| 6. Firmly grasp the shoulder strap adjustment covers and pry it free. |
7. Using a Torx T-50 bit, remove the shoulder strap adjuster mounts from your Jeep's roll bar. |
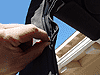
8. Unzip the 3 zippers on your center roll bar padding and remove it from your Jeep. |
 |
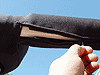
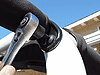
9. Pull the padding on the side support bars connecting your Jeep's windshield to the center roll bar in order to reveal this bolt. As you can see, there is a pin inside the center of it and you will need a Tamper Resistant Torx T-50 bit to remove it. |
 |
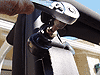
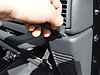
10. Using a Torx T-40 bit, remove the 2 bolts securing the side support bars to your Jeep's center roll bar. |
 |
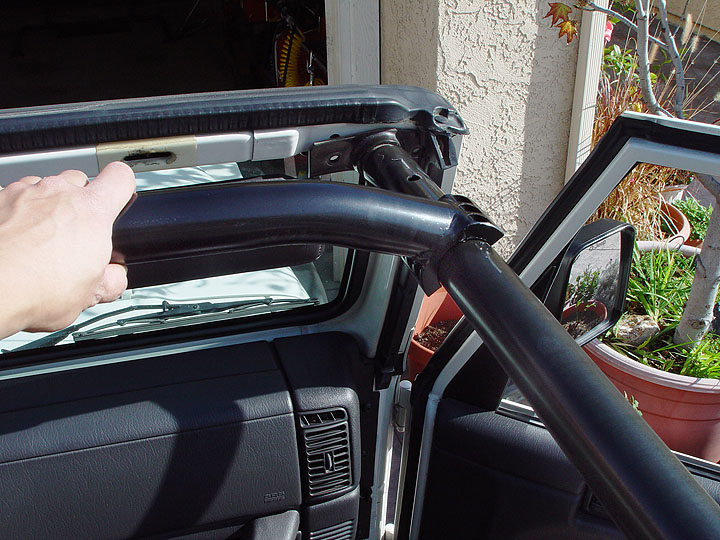
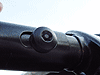
11. Again, using a Torx T-40 bit, remove the 2 bolts securing the side support bars to your Jeep's windshield frame. Remove the side support bar from your Jeep, pull it apart and remove the padding from it. If you're planning on reusing the padding, you will need to trim them down now and reinstall them back onto the side support bars before continuing. |
 |
12. Reassemble and loosely reinstall your side support bars back onto your Jeep's windshield frame and center roll bar tightening the bolts only finger tight at this time. The tamper resistant Torx T-50 bolt should be tightened all the way at this time. |
 |
13. Carefully place the Rock Hard Ultimate Sport Cage top/center T-bars onto your Jeep's center roll bar and then onto the side support bars. It is not needed but the help of a friend will insure that you don't accidentally drop this part and damage anything inside your Jeep. |
 |
14. If the side support bars do not move enough to allow the clamps on the Rock Hard Ultimate Sport Cage top/center T-bars to engage properly, remove the bolts securing one of the side bars to the windshield frame. This should allow enough wiggle room to get it on. Once it is on, loosely reinstall the side support bars bolts back onto your Jeep's windshield frame. |
 |
 |
 |
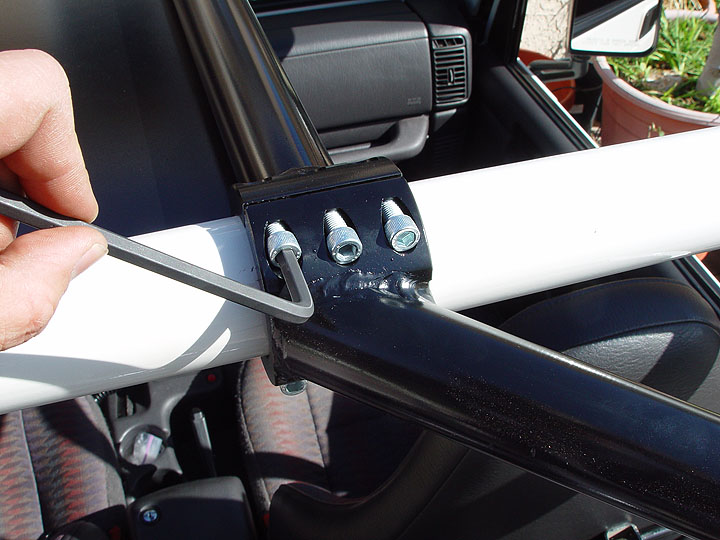
| 15. Using a 1/4" allen wrench, loosely secure your Rock Hard Ultimate Sport Cage top/center T-bars to your Jeep's side support bars using 2 small clamp ends and allen bolts supplied with the kit. |
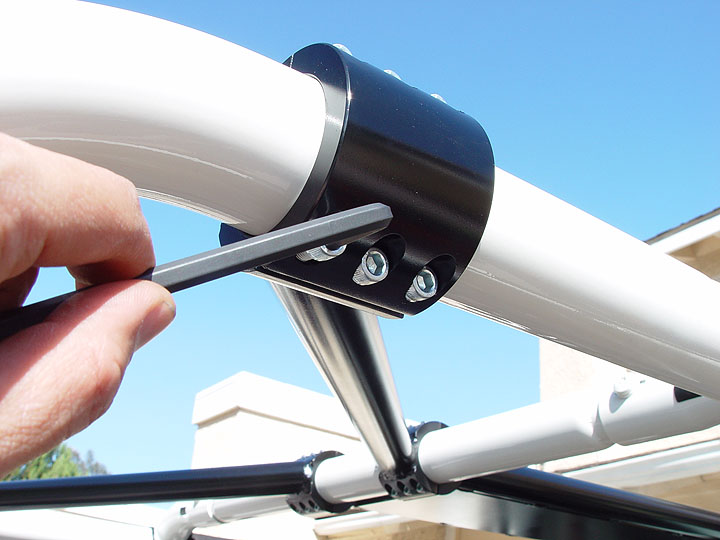
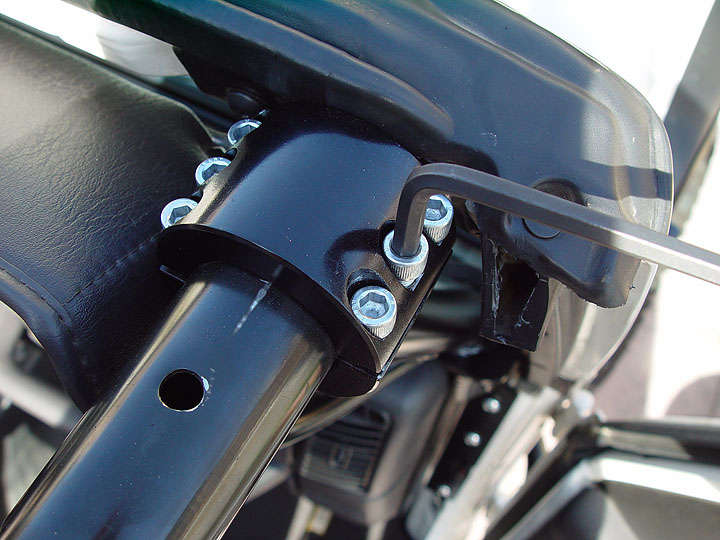
16. Using a 1/4" allen wrench, loosely secure your Rock Hard Ultimate Sport Cage Center T-Bars to your Jeep's center roll bar using 2 large clamp ends (or optional Rear Angle Bars if you bought them) and allen bolts supplied with the kit. |
17. If you did buy the optional Rear Angle Bars, loosely secure them to your Jeep's rear roll bars using 2 large clamp ends and bolts that came with the Rock Hard Ultimate Sport Cage. Once again, a 1/4" allen wrench will be needed. |
 |
 |
 |
| 18. Open up or remove your doors and then remove the 3 bolts securing your dash to the body of your Jeep using a Torx T-30 bit. |
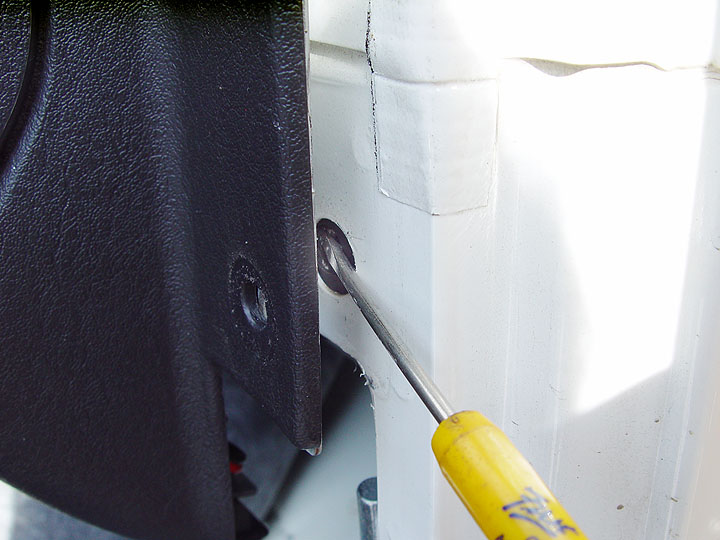
19. Pull your dash away from your Jeep's body just enough to gain access to the tread clips in the bolt holes with a small flat head screwdriver. |
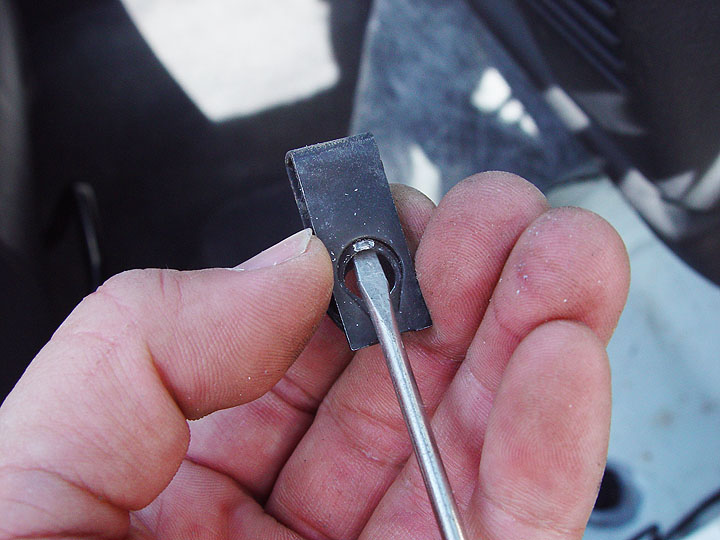
20. In order to remove the tread clips, you will need to lift up the center ring with a small screwdriver and then push off the body. Once all of them are out, push your dash back into place. |
 |
21. The new dash/body bolts Rock Hard 4x4 Parts provides with their Ultimate Sport Cage are bigger and beefier than the one that came off your Jeep so you will need to widen the existing holes a little with a dremel and grinding bit in order to get them through. |
 |
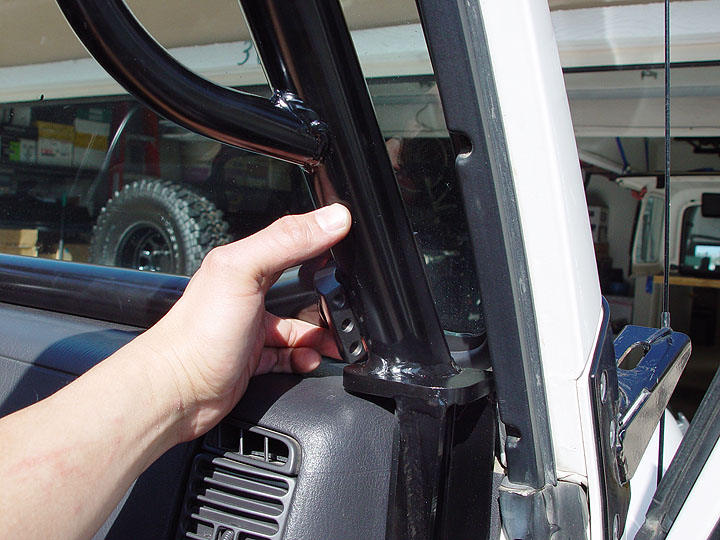
22. Using a 1/4" allen wrench, take 2 of the smaller clamps and bolts and loosely attach the Rock Hard Ultimate Sport Cage driver side and passenger side windshield side bars to your Jeep's side support bars. Try to make sure they sit as close to the windshield frame as possible or else you will not be able to install soft top door surrounds. |
 |
 |
 |
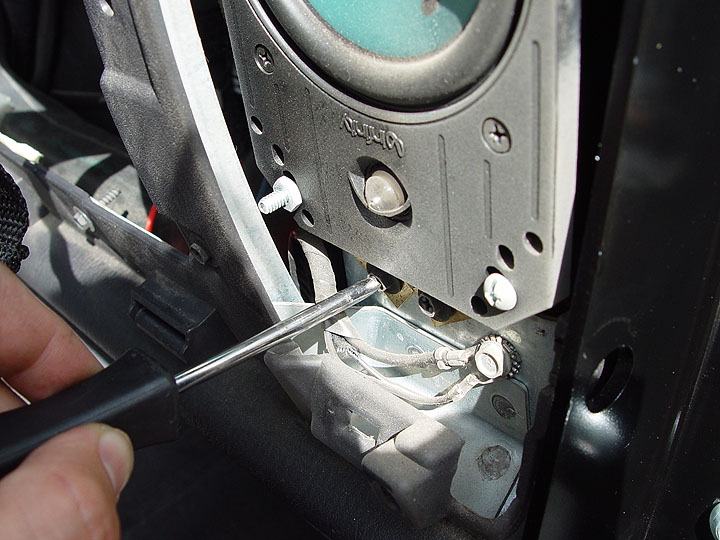
| 23. Using a phillips head screwdriver, remove the 2 screws securing your Jeep's front speaker covers to the dash. |
24. Carefully pry open your Jeep's front speaker covers using a flathead screwdriver. |
25. Remove your front speakers using a phillips head screwdriver, disconnect the wiring harness and then remove them from your Jeep. |
 |
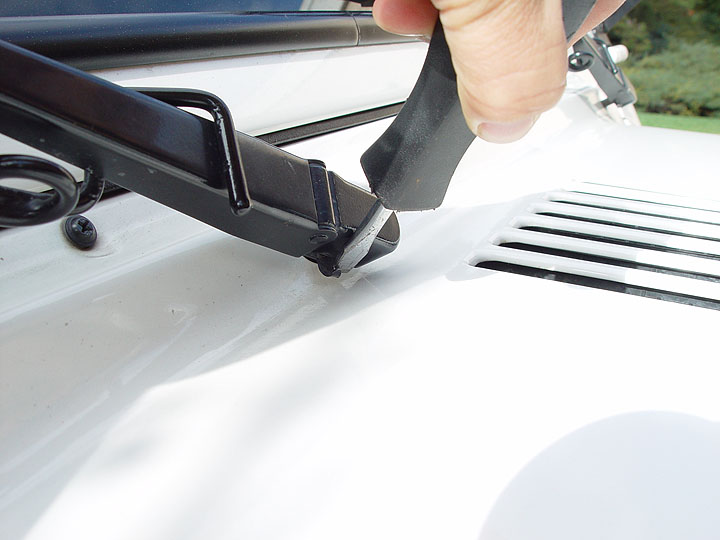
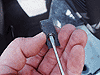
26. Remove your windshield wiper arms from your Jeep. You will need a flathead screwdriver to release the clips holding them in place. |
 |
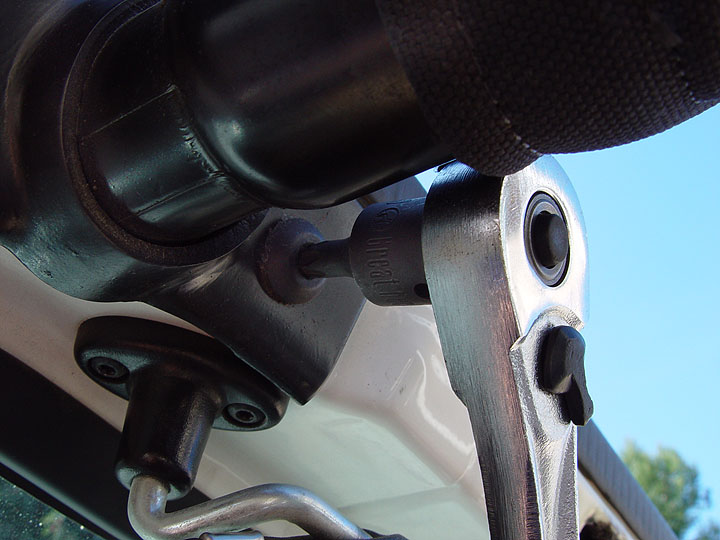
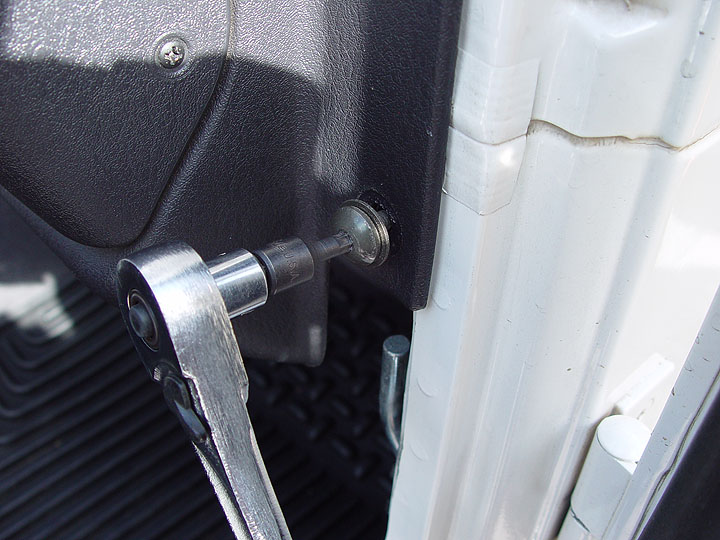
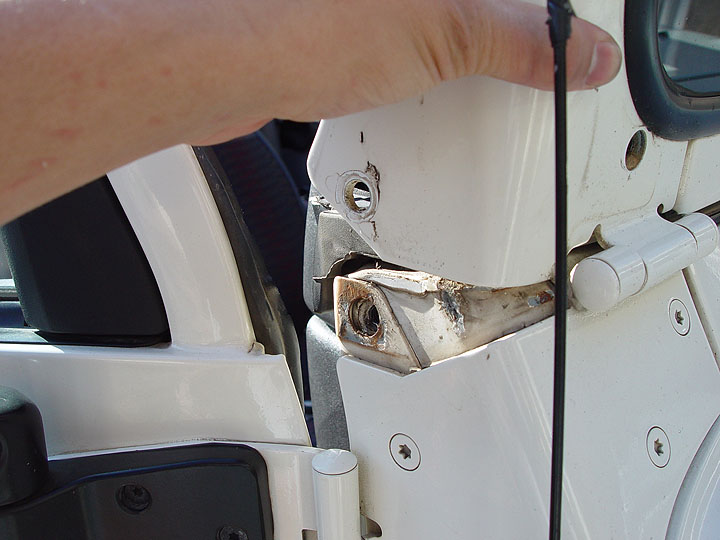
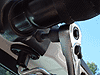
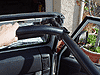
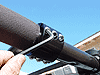
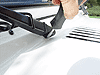
27. Using a Torx T-40 bit, remove the bolts on the outside bottom corner of the windshield frame as shown in the pic to the left. Then, remove the bolts securing the side support bars to your windshield frame. You should now be able to fold your windshield down. |
 |
28. Place the Rock Hard Ultimate Sport Cage dash bar between the windshield side bars facing forward and pointing down. Then, secure it loosely in place using the small clamps and bolts supplied with the kit. A 1/4" allen wrench will be required to do this. |
 |
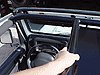
29. If you purchased a set of Rock Hard Ultimate Sport Cage floor mounts like I did, it should have come assembled looking like the pic on the left. This was done to keep all the correct pieces together. Remove the bolts securing the solid 3/4"x1-1/2" bar (with the curve in it) to the longer leg (square tube with a foot on the base of it). This bar will be needed to mount your windshield side bars to the body of your Jeep. |
 |
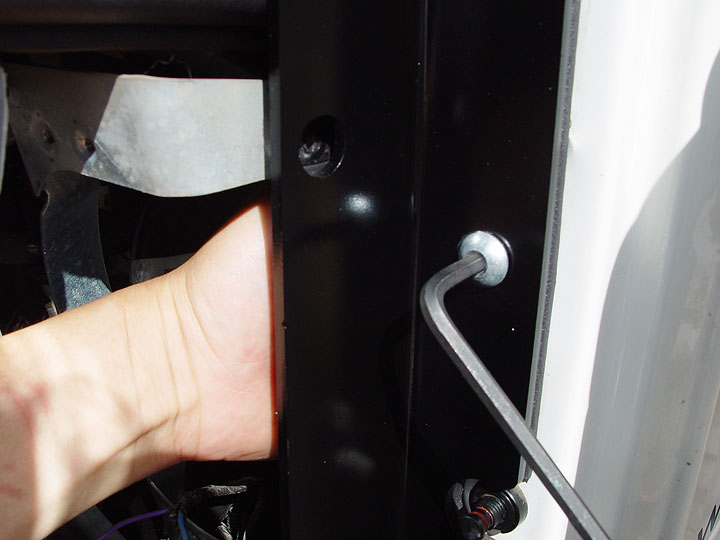
30. Starting on the passenger side of your Jeep, take passenger side 3/4"x1-1/2" floor mount bar and lift it up under the dash and place it behind the windshield side bar body mounting bracket. Make sure the curved side of the floor mount bar is pointing towards the inside of your Jeep so that it clears the dome light switch. |
 |
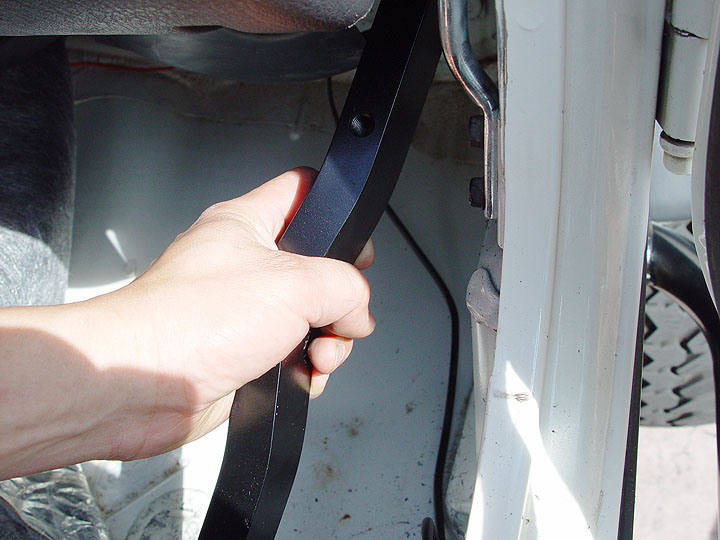
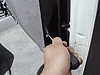
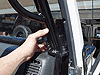
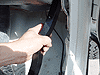
31. Stick your hand through the speaker hole, hold on to the Floor Mount Bar and then loosely fasten the Rock Hard Ultimate Sport Cage Windshield Side Bar Mount to it using 3 of the 3/8"x1" button head bolts supplied with the kit. You will need a 7/32" allen wrench to fasten the bolts. NOTE: If you did not purchase the optional Rock Hard Ultimate Sport Cage Floor Mounts, simply secure your Windshield Side Bars using the 3/8"x3/4"x2" mounting plates provided with the kit. |