|
|
Post Installation Notes
If i'm totally honest with myself, I think the biggest reason why
i held off on this mod was not because of the price but because
you couldn't see it. You know what I'm talking about. When you install
a lift or buy new and bigger tires, you can see how cool it make
your Jeep. An SYE/ CV drive shaft is the kind of mod that'll pretty
much go un-noticed by everyone else but you.... but believe me,
it is worth every penny.
For the record, I had for years skirted around the need for an SYE/CV
by using a motor mount lift and then eventually by adding a few
washers to drop my t-case skid. I had convinced myself that the
vibes I was getting were gone and that the money I saved could be
used for other cool mods. Let me just say, I was so wrong. Installing
a SYE/CV was probably one of the best things I have done for my
Jeep and for me. The vibes I thought I got rid of were in fact never
really gone as installing the SYE/CV have made my drivelines smooth
as butter. The other unexpected benefit of this mod was that my
Jeep is actually quieter at highway speeds. Unbeknownst to me, the
slight vibes I had were actually translating into the cab as noise.
If you are thinking about installing a new and taller lift, do yourself
a favor and be sure to factor in the cost of installing an SYE/CV
drive shaft. In my opinion, they should be standard equipment.
Please let me know if you have any questions.
Eddie aka.
wayoflife
|
|
Advance
Adapters Slip Yoke Eliminator (AA SYE)
& CV Drive Shaft Installation on a Jeep TJ
<< Back
- Page 3
|
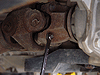
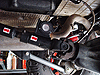
51. Secure the lower drain
bolt on the transfer case and tighten it to 15-25 ft. lbs.
of torque. Then, refill your transfer case with ATF+3 or better
until it starts oozing back out of the fill hole. A bottle
pump or yoke spout will help to make this job a lot easier.
Re-attach the fill bolt and tighten it to 15-25 ft. lbs. of
torque.
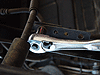
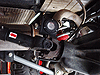
52. Reconnect the front drive shaft to the front axle using the factory bolts. Tighten these bolts to 14 ft. lbs. of torque. Then, attach the drive shaft to your transfer case again using the factory bolts except tighten these to 20 ft. lbs. of torque. |
 |
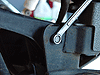
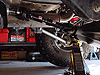
53. Re-install your transfer case skid plate and tighten the 6 bolts to 55 ft. lbs. of torque. Then, re-install your 4 transmission mount nuts and tighten them to to 45 ft. lbs. of torque.
54. Because you installed your new AA SYE on
your Jeep, all you need to do now is shift your transfer case
lever back to 2WD without making any adjustments to it. Until
the ATF has a chance to circulate a bit, the shifter may feel
a little sticky. Once you get going, this will go away. |
For the most
part, that should be it for the installation of your new AA
SYE. From here, you will need to take some measurements, order
a CV drive shaft and then install it. Until your drive shaft
arrives, you should be able to get around town just fine using
your front axle. Simply shift into 4WD HI and you're off. Just
make sure that you remove completely the rear yoke straps and
4 bolts. You don't want to loose these.
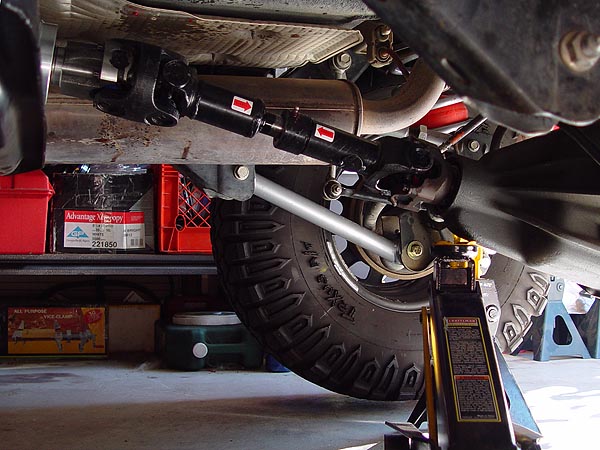
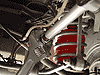
CV Drive Shaft Installation
If you don't already have a pair of Rubicon Express or comparable
adjustable rear upper control arms installed on your Jeep TJ,
you will need to install them at this time. |

|
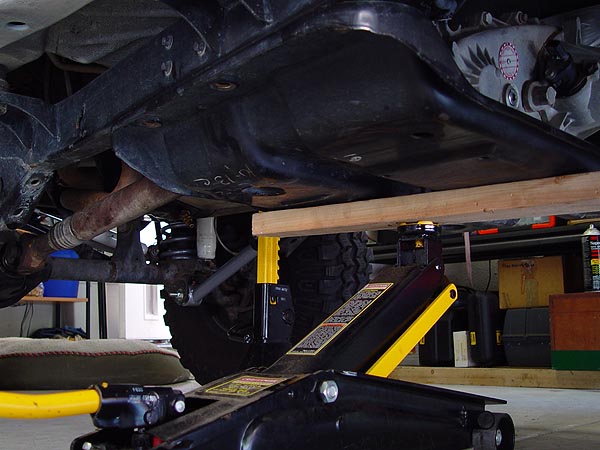
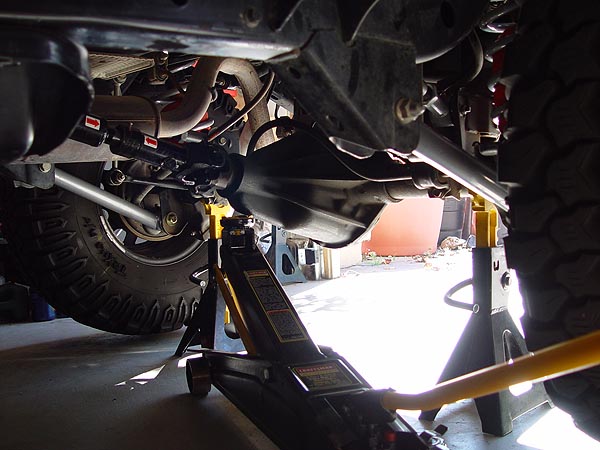
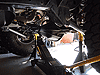
1. Chock your front wheels, jack up your
rear axle from the differential and then set it back down
onto 2 jack stands (one on either side of your Jeep) high
enough that your tires do not touch the ground.
2. Climb under your Jeep and unbolt the brake
line retainers using a 13mm socket. These retainers will end
up dangling and clanking around so I pried mine off with a
pair of vice grips.
3. Next, remove the bolts attaching your
upper control arms to the axle using a 15mm socket and wrench.
I suppose you could detach the exhaust hanger and get in there
with a wrench but I found that with a 12" extension,
I could work over the muffler to remove the bolt with a ratchet.
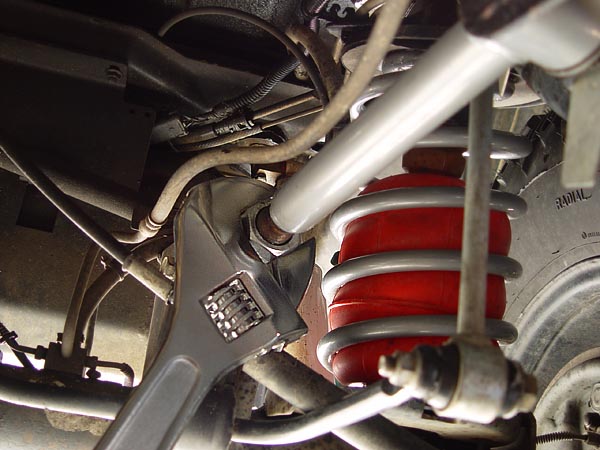
3. Install the zerk nipples on to the new
Rubicon Express adjustable control arms using a 5/16"
wrench. For now, adjust the arm length to be 3/4" longer
than your factory arms, lock them in place with a large 1-1/2"
crescent wrench
4. Place a floor jack underneath the pinion
shaft end of your differential and lift it up a bit to help
you install the new Rubicon Express rear adjustable control
arms on your Jeep. Re-use the factory hardware and make sure
the rubber bushing is attached to the frame mount and the
zerk nipple pointing up on the axle end. Do not fully tighten
these bolts until your Jeep is back on the ground. |
 |
5. Set your Jeep's rear end back on the ground
and then tighten your new Rubicon Express rear adjustable control
arm bolts to 55 ft. lbs. of torque.
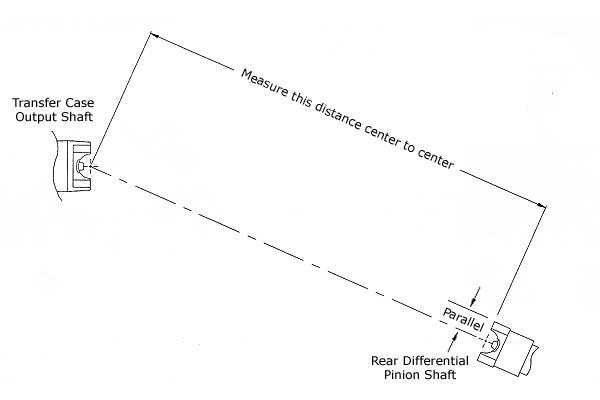
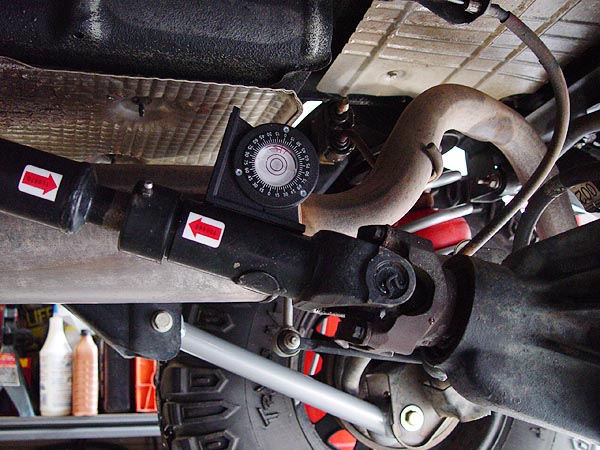
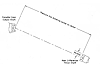
6. Now, measure the distance between the center
of your transfer case output shaft U-joint and your rear differential
pinion shaft U-joint as shown in the diagram to the left. As
an example, a typical RE 3.5" Super Flex Lift will have
a measurement of about 16" - 17" long. Take your exact
measurement and order your new custom CV drive shaft. |
|
7. Once you get your new CV drive shaft,
park your Jeep on level ground and as before, chock your front
wheels, jack up your rear axle from the differential and then
set it back down onto 2 jack stands (one on either side of your
Jeep) high enough that your tires do not touch the ground. Then,
shift the transfer case lever to neutral.
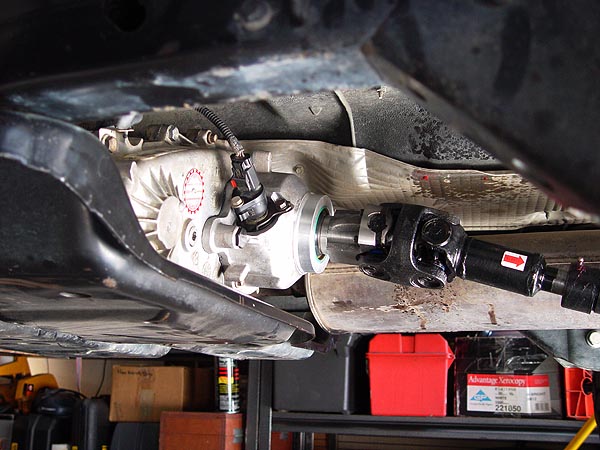
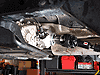
8. Install the new CV drive shaft onto your
rear differential pinion shaft using the factory yoke straps
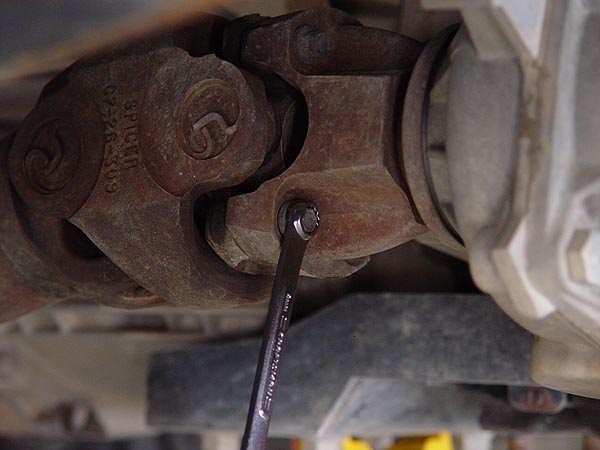
and bolts. Tighten these bolts to 14 ft. lbs. of torque.
9. With the transfer case in in neutral, you
should be able to rotate the output shaft by hand until it aligns
with the new CV drive shaft. Secure it using the new bolts that
came with the drive shaft tightening them to 20 ft. lbs. of
torque.
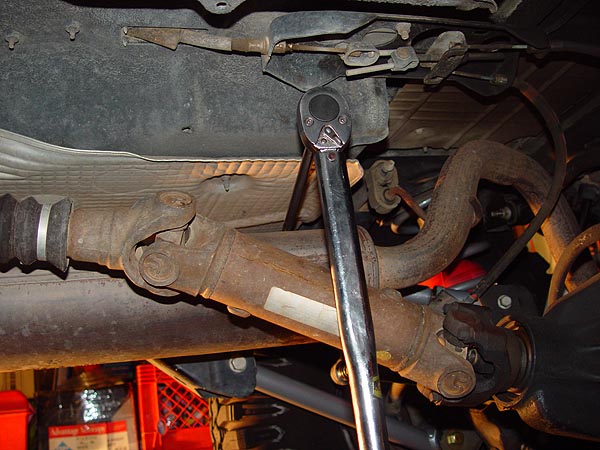
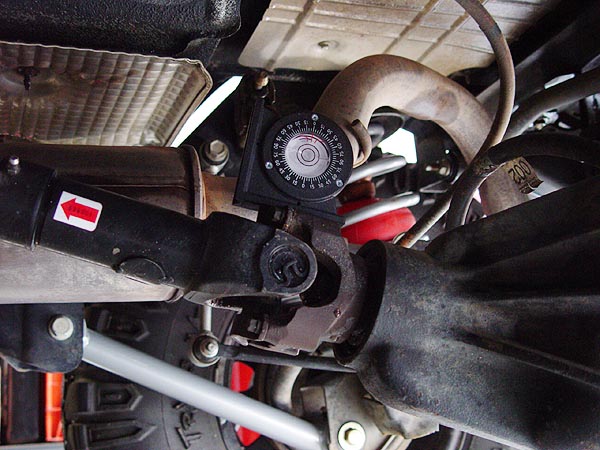
10. Rotate your rear wheels until the pinion
yoke is sitting with the flat side pointing up. Place an angle
finder on the new CV drive shaft and then on the pinion yoke
to see if the two are parallel to each other as they need to
be. If they are, you're done. If not, you will need to adjust
the length of the rear upper adjustable control arms and tilt
your rear axle as indicated in step #4 and as needed. When the
two are parallel, set your Jeep back on the ground and tighten
up all your bolts to torque specs. |
|
|
|