|
|
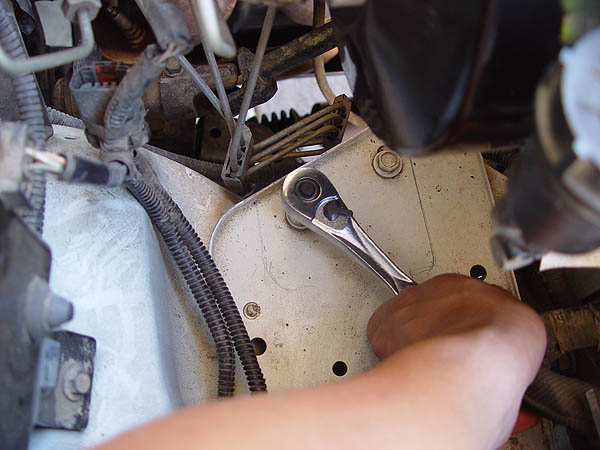
| Remove the auxiliary tray
on the drive side of your Jeep using a 13mm wrench or socket |
 |
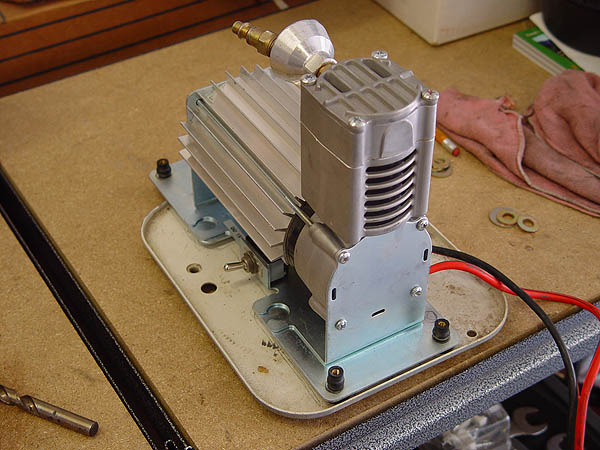
| Place your Quick Air 2 compressor on top
of the auxiliary tray and use it as a template to locate where you
will need to drill |
 |
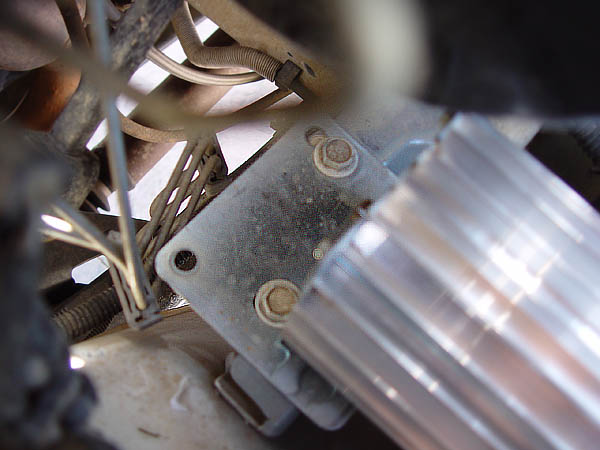
| Mark the mounting plate using a center
punch and then drill your new mounting holes with a 3/8 metal drilling
bit |
 |
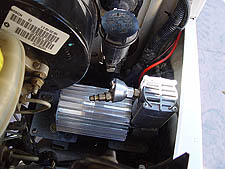
| Bolt
the Quick Air 2 compressor directly to the auxiliary tray's mounting
bracket minus the tray |
 |
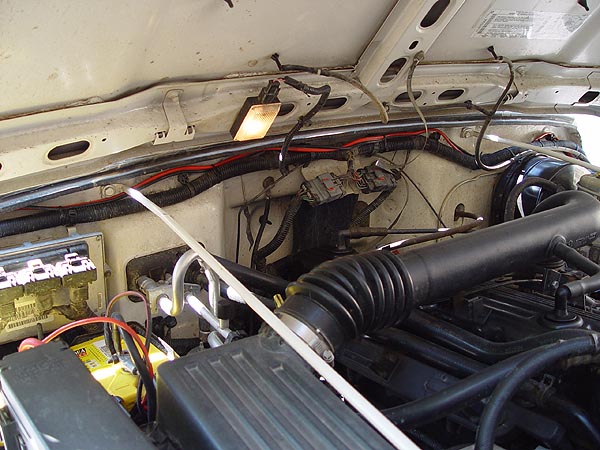
| Take the positive and negative leads and
zip tie it along wiring harness attached to the firewall |
 |
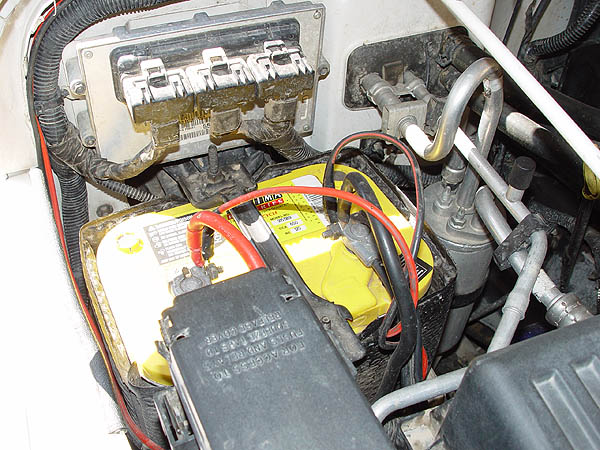
| Secure your positive and negative leads
to your battery |
 |
|
Quick
Air 2 - Under the Hood Install
One of the best
ways to significantly improve your Jeeps performance on the trails
is to air your tires down. Lower air pressure will allow your tires
to have a greater foot print which will give you a lot more traction
on sand, snow and rocks. The only real problem with this is that once
you get back on pavement, you will need to air them back up. When
you're riding on tires 31 inches or taller, filling each one back
up to 30± psi from 10 psi can take forever. That's why I choose
to invest in a Quick Air 2. This compressor is fast, small and powerfull
enough to reseat a busted tire bead (I have personally done this).
A few years back, I purchased a portable version of the Sun Performance
Quick Air 2 air compressor so that I could use it in either my then
1998 Isuzu Rodeo or my Jeep TJ. Needless to say, I no longer own a
Rodeo and so I decided to find a way to hard mount the compressor
in an effort to save valuable space in my Jeep.
Please note that this write-up is based on a portable Quick Air 2
unit and the installation of a hard mount unit will most likely be
different. If I could hazard to guess, installing a hard mount unit
would be easier.
What You Will Need
• Sun Performance
Quick Air 2
• 13mm Socket/Wrench
• Ratchet
• 6" Ratchet Extension
• Center Punch
• Hammer
• Hand Drill
• 3/8" Metal Drilling Bit
• Solderless Ring Terminal (3/8" Ring)
• Solderless Terminal Crimpping Pliers
• Zip Ties
Installation
1.
The easiest way to work under your hood is to open it all the way
and resting it against the top of your windshield. Placing a rag or
something soft and padded here is a good idea as it will prevent any
damage to your paint.
2. Go to the driver side of your Jeep and remove
the 4 bolts securing the auxiliary tray using a 13mm socket.
3. Place the auxiliary tray on a workbench and then
place your Quick Air 2 on top of it as shown in the pic to the left.
Carefully located and mark off the location of all the bolt holes
on the mounting plate using a center punch. I was only able to mark
off 3 total.
Hard Mount Unit Install Instructions:
If you have a hard mount unit, I would venture to guess that you
should be able to mount the compressor directly to the auxiliary plate.
In this case, I would mark off all the holes on the Quick Air mounting
bracket on the the auxiliary plate using a center punch. From there,
you should be able to drill holes and then bolt up the compressor
to the plate and re-install.
4. Using a hand drill with a 3/8" metal drilling
bit, drill out the holes on the mounting plate you just marked off.
5. Back under the hood, bolt the Quick Air 2 compressor
directly to the auxiliary tray's mounting bracket minus the tray.
6. Take the positive and negative leads from the
compressor, route it along the wiring harness attached to the firewall
and zip tie them into place.
7. If your wires do not already have them on the
ends, affix a solderless 3/8" ring terminal to each end now.
Then, attach the leads to the positive and negative bolts on your
battery.
8. Flip on your Quick Air 2's switch to make sure
it works.
That should be it! Please let me know if you have any questions. |
|
|