|
|
What
You will Need
• Hi-Lift
Jack
•
2 - 3-1/2"x1/2"
Bolts
• 10 - 1/2" Washers
• 2 - 1/2" Wing Nuts
• 1 - 1/2" Shock Bushing Metal Sleeve
• 1/2" Cobalt or Metal Drilling Bit
• 3/4" Socket & Wrench
• Ratchet
• Hammer
• Center Punch
• Hand Drill
• Hack Saw
• Bench Vice
|
|
|
|
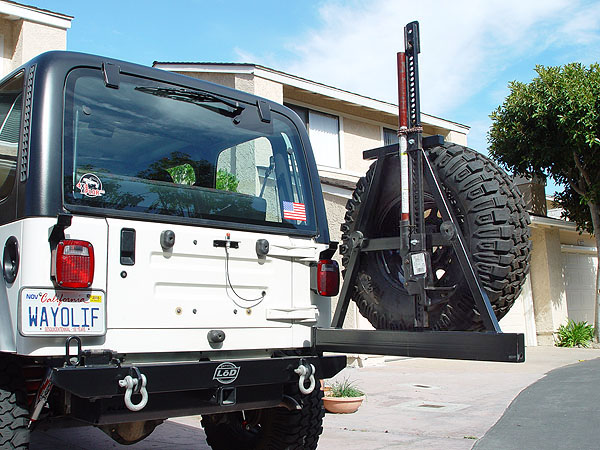
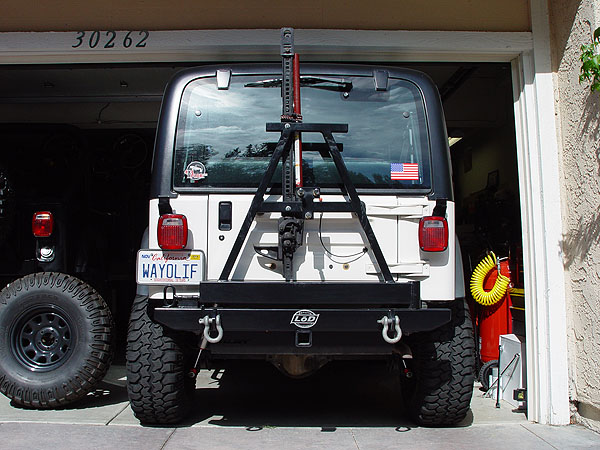
Homemade
Vertical Hi-Lift Jack Mount
for LoD Rear Bumper/Tire-Carriers
Although I am
confident that LoD will deliver and manufacture a bolt on Hi-Lift
Jack mount in the near future, I got impatient waiting and decided
to see what I could come up with. A quick trip to my local Lowes Hardware
store and about $10 later, I had all the parts I needed to make my
very own homemade Hi-Lift Jack mount for my LoD bumper tire-carrier.
Installation

|
1. To begin making your Hi-Lift
mount, remove your spare tire from the LoD tire-carrier.
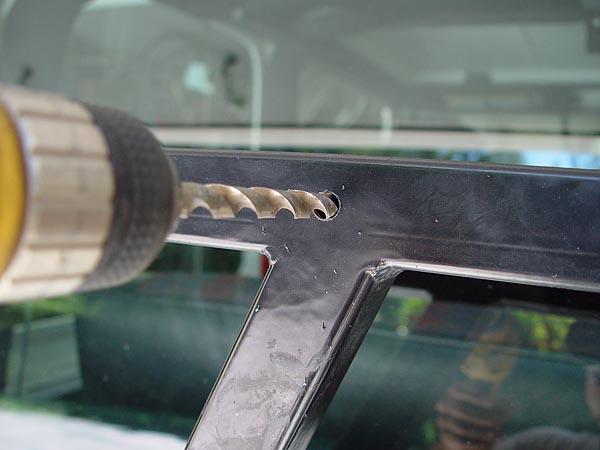
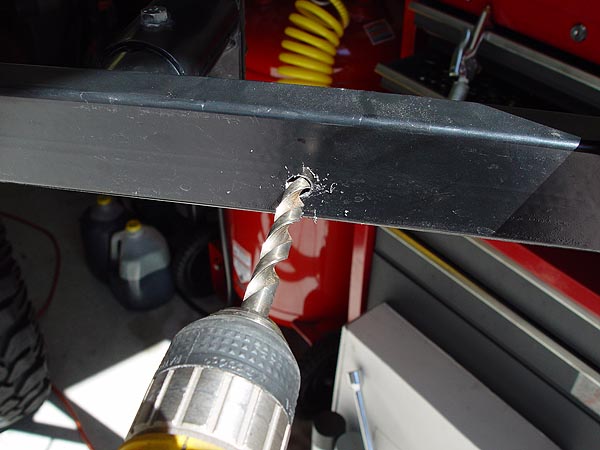
2. Use a center punch and hammer to locate
and mark a drilling point on the top cross bar of the LoD A-Frame.
Then, using a hand drill and 1/2" bit, carefully and slowly
drill a hole through this point. If you have a hard or soft-top
on, you might want to open the rear window so you don't accidentally
break through it. Or, you can have someone help you hold the
A-Frame in an open position while you drill through it.
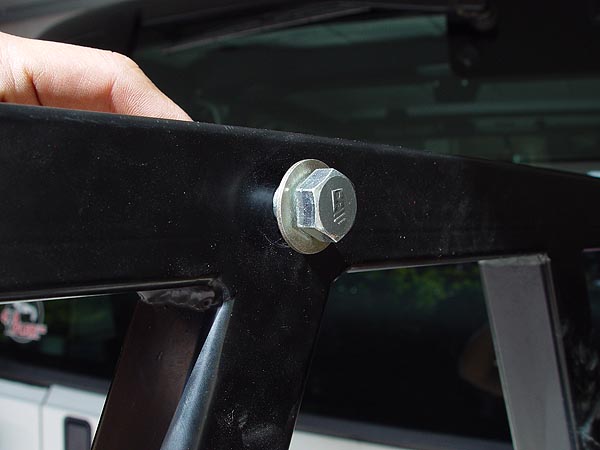
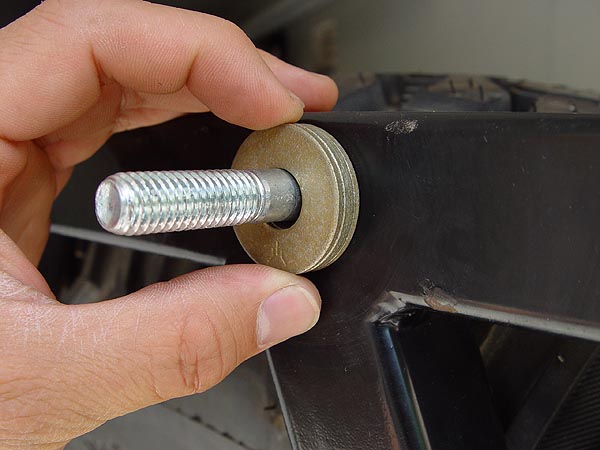
3. Slip a washer on one of your 3-1/2"x1/2"
bolts and then slide it through your newly drilled hole as shown
in the pic to the left. |
 |
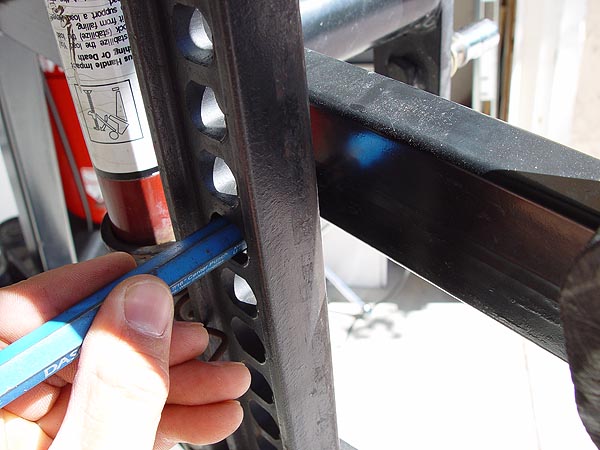
4. Hang your Hi-Lift Jack from the bolt you
just installed on the LoD top cross bar of the A-Frame and use
it as a template to locate the bottom mounting point. Again,
use a center punch and hammer to mark the point you need to
drill through. |
 |
5. Proceed to drill your second hole through
the middle cross bar on your LoD A-Frame. Once again, having
someone help you hold the A-Frame in place will make this job
a lot easier. |
 |
6. Install a total of 4 washers onto the
top Hi-Lift Jack mounting bolt. These washers will help keep
the actual Hi-Lift Jack just enough away from the A-Frame finish
and secured in place. |
|
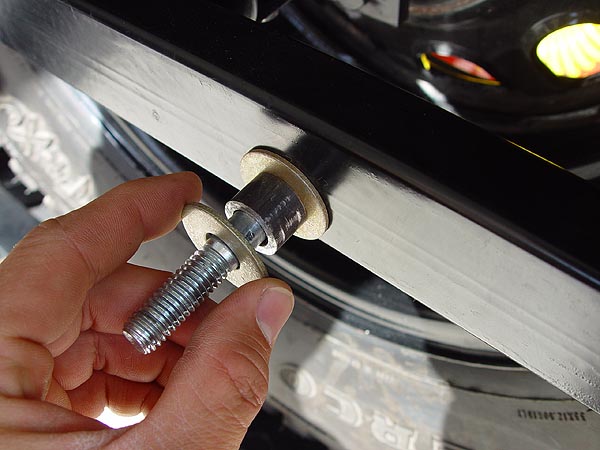
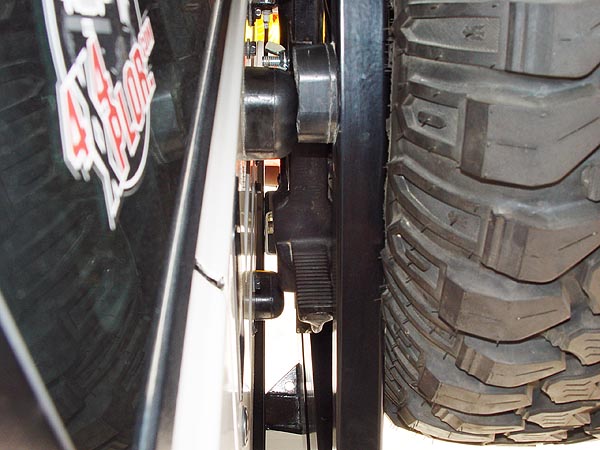
7. The lower Hi-Lift Jack mount is recessed
a bit from the upper cross bar and more of a spacer was needed.
You could just use more washers here but I decided to hack down
a left over metal shock bushing sleeve and sandwich it between
2 washers as shown in the pic to the left. |
 |
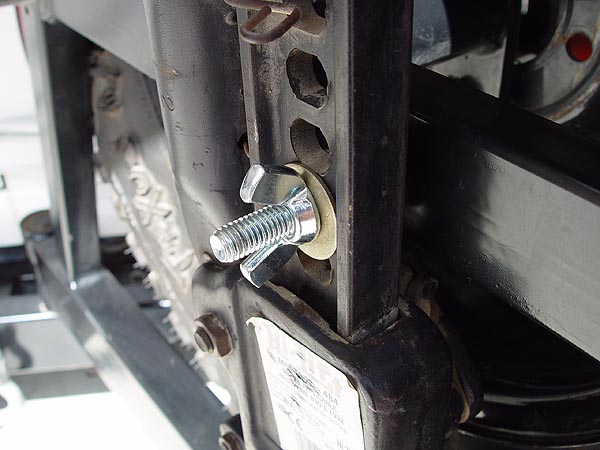
8. Hang your Hi-Lift Jack onto your new mounting
bolts, slip on a washer and then secure it in place using your
new 1/2" Wing nuts |
 |
9. In order for your Hi-Lift Jack to fit
between your tailgate and the LoD tire-carrier, the base will
need to be removed and stored inside your Jeep. Although this
may seem like a burden, the part of any Hi-Lift that rattles
the most is the base. Need I say, you get a quiet ride. |
Additional
Photos
|
That's pretty much it in a nut shell.
Super easy to make and super cheap too. Please
let me know if you have any questions. |
|
|
|